How to use TestNG with Maven and Eclipse
 Posted On
Earlier, we had seen how to use JUNIT for unit testing. TestNG is another such unit testing framework. In this article, we will be learning how to use TestNG with Maven and Eclipse.
TestNG Overview
TestNG is a very powerful unit testing framework. Not only does it allow creating and running tests, but it has many advanced features like generating test reports, parameterizing tests, and much more. Let us now learn how to use TestNG to test a simple Java program.
Project Creation and Setup
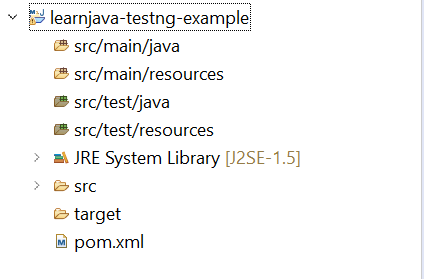
Step 1 – Create a new Maven Project (Refer to this blog post). This should create a project as shown below:
Step 2 – Add the TestNG dependencies (You can refer to this blog post). Alternatively, you can add the following to your pom.xml file:
<dependency>
  <groupId>org.testng</groupId>
  <artifactId>testng</artifactId>
  <version>6.8</version>
  <scope>test</scope>
</dependency>
Writing and Running Code
Step 3 – Write code to be tested. Suppose, you have a class as follows:
public class Calculator {

  public int add(int num1,int num2) {
    return num1+num2;
  }

  public int subtract(int num1, int num2) {
    return num1-num2;
  }

}
This is a simple Java class. It has two methods add and subtract.
Step 4: Write test class. You can now create a Test class as follows:
public class CalculatorTest {

@Test
public void testAdd(){
int num1=10;
int num2=20;
Calculator cal = new Calculator();
int sum = cal.add(num1, num2);
assertEquals(30, sum);
}

@Test
public void testSubtract(){
int num1=10;
int num2=20;
Calculator cal = new Calculator();
int diff = cal.subtract(num1, num2);
assertEquals(-10, diff);
}

}
We have now created a CalculatorTest class. The testAdd method tests the Calculator.add method while the testSubtract method tests the Calculator.substract method. Both methods have the @Test annotation specified. This annotation indicates that the method needs to be executed as a TestNG test. Both methods use the assertEquals method to verify the test result.
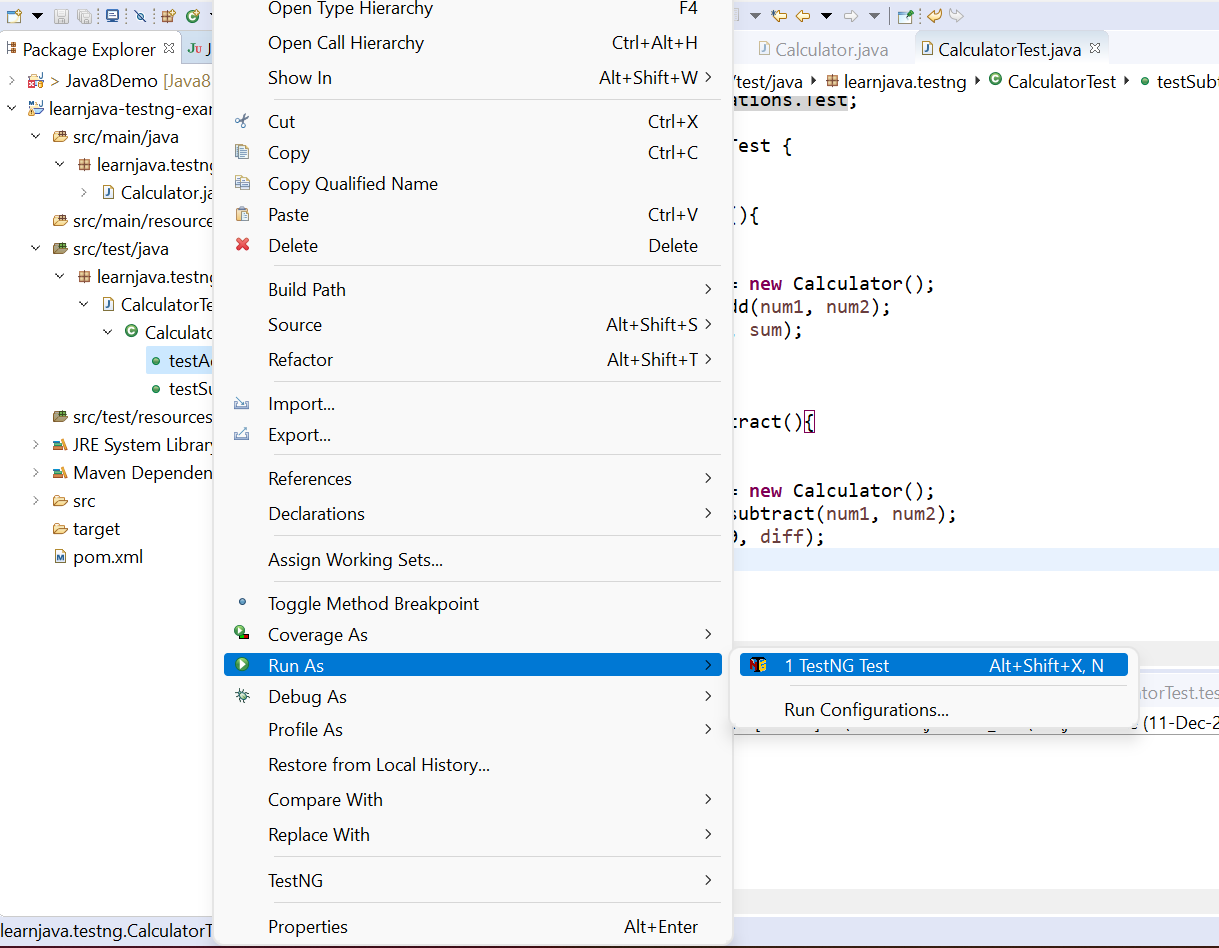
Step 5: Executing the test. You can execute the test in Eclipse by right-clicking on the test method/test class and clicking on Run As -> TestNG Test as shown below:
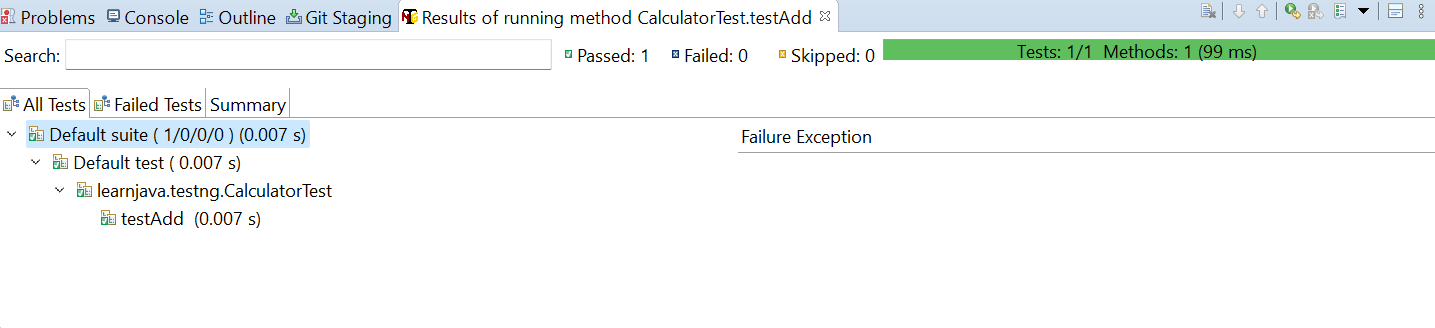
A successful test displays the following output:
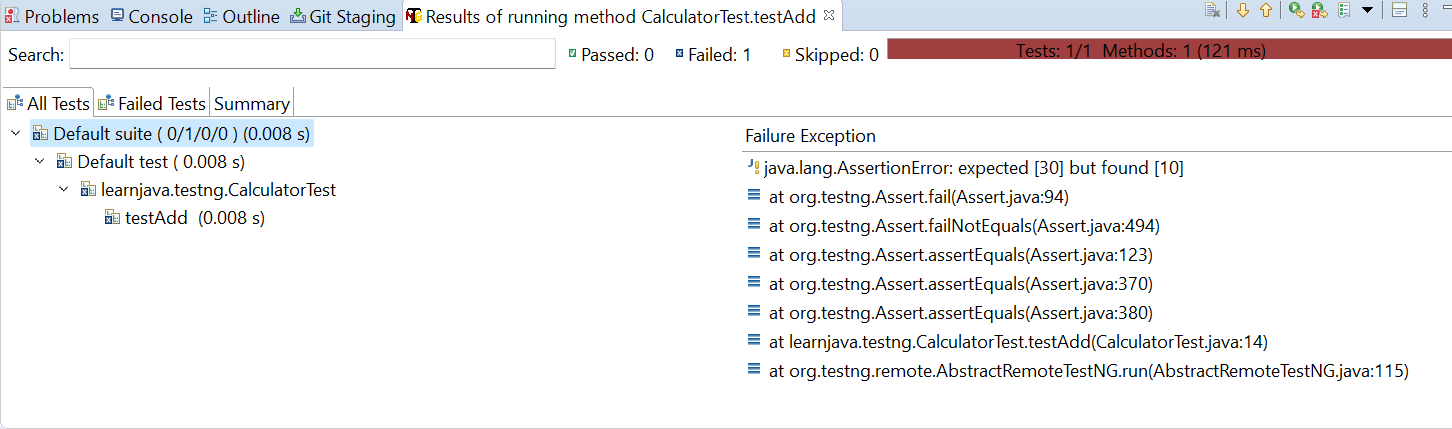
A failed test displays the following output:
Refactoring the code
TestNG includes several other annotations that help to optimize the test code. For example, in the code above, both the testAdd and testSubtract methods create a Calculator object. For a simple example like this, it does not matter much. However, sometimes object creation can be an expensive operation and you would want to create only one instance of the object and use it in all the tests. TestNG supports a @BeforeClass annotation. When specified on a method, the method is executed only once before all the tests. So, the code above can be rewritten using the @BeforeClass annotation as follows:
public class CalculatorTest {

  private Calculator cal;

  @BeforeClass
  public void beforeMethod() {
    cal = new Calculator();
  }

  @Test
  public void testAdd(){
    int num1=10;
    int num2=20;
    int sum = cal.add(num1, num2);
    assertEquals(30, sum);
  }

  @Test
  public void testSubtract(){
    int num1=10;
    int num2=20;
    int diff = cal.subtract(num1, num2);
    assertEquals(-10, diff);
  }

}
You can download the complete source code for this example from my Github repository.
Further Reading
Conclusion
So, in this article, we learned about TestNG and some of its annotations. We also saw how to use TestNG with Maven and Eclipse.