Java 9 Module creation with code samples
One of the new features added by Java 9 is the module system. This article is the last part in a 3 part article. In Part 1, I gave a high level introduction to modules and the advantages that they provide. In Part 2, I covered the details of what exactly a module is, what it consists of and other module internals. In this part, I will be explaining how to create and use a module in Eclipse.
See also Module Introduction and Module Internals
Table Of Contents
Creating a Module
As covered in my earlier article, a module is a group of packages that helps to organize code better. Let us first create a Java project that has a module.
Step 1 – Ensure that Java 9 is installed and configured in Eclipse.
Step 2 – Create a new Java project. Enter a project name. Ensure that JDK 9 is selected.
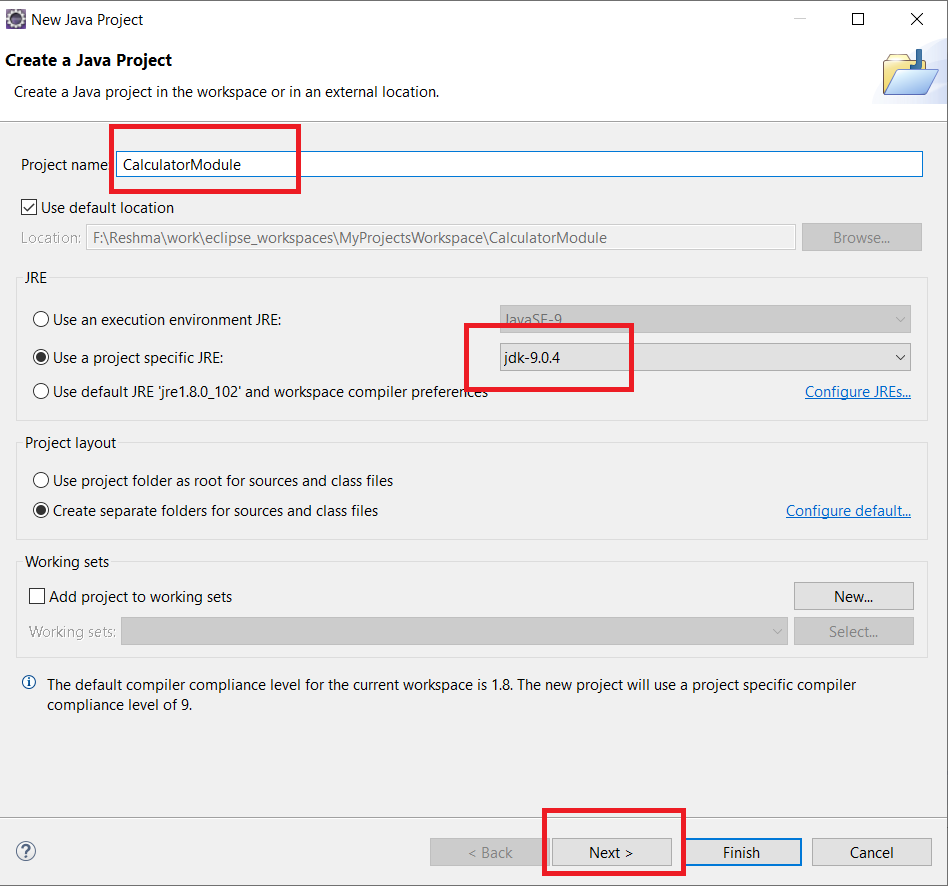
Step 3 – Click Next. The following screen is shown:
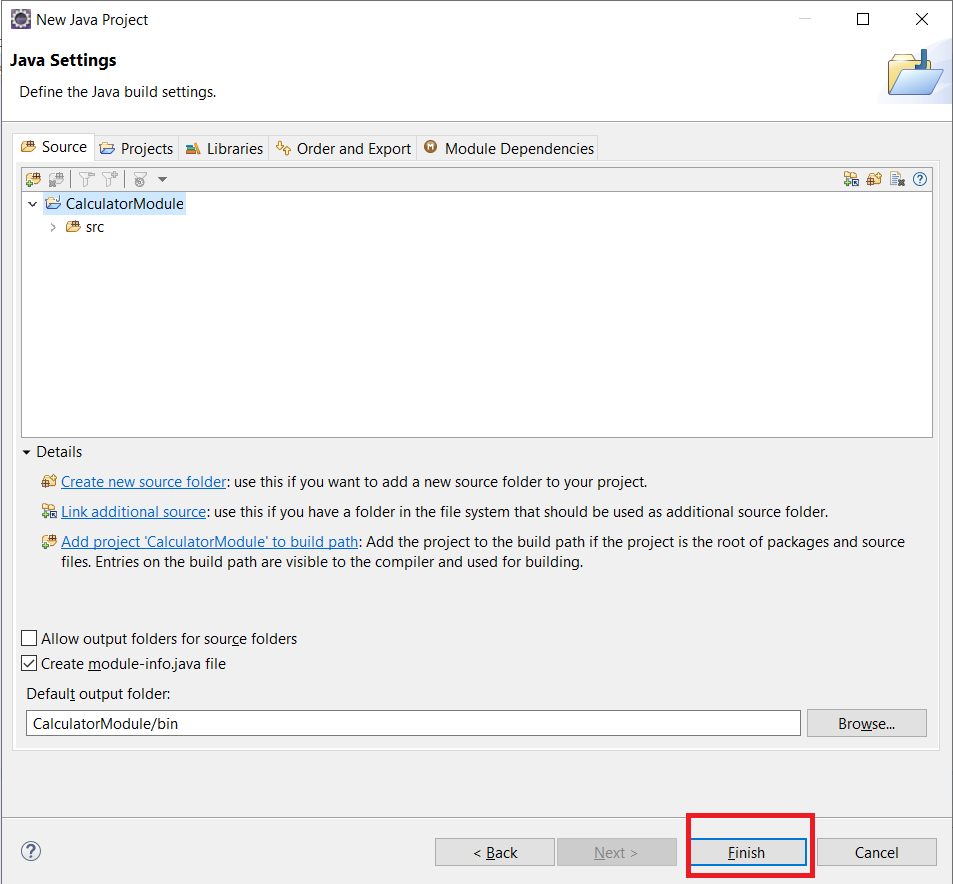
Step 4: Click “Finish”. A screen for entering module name is shown as below:
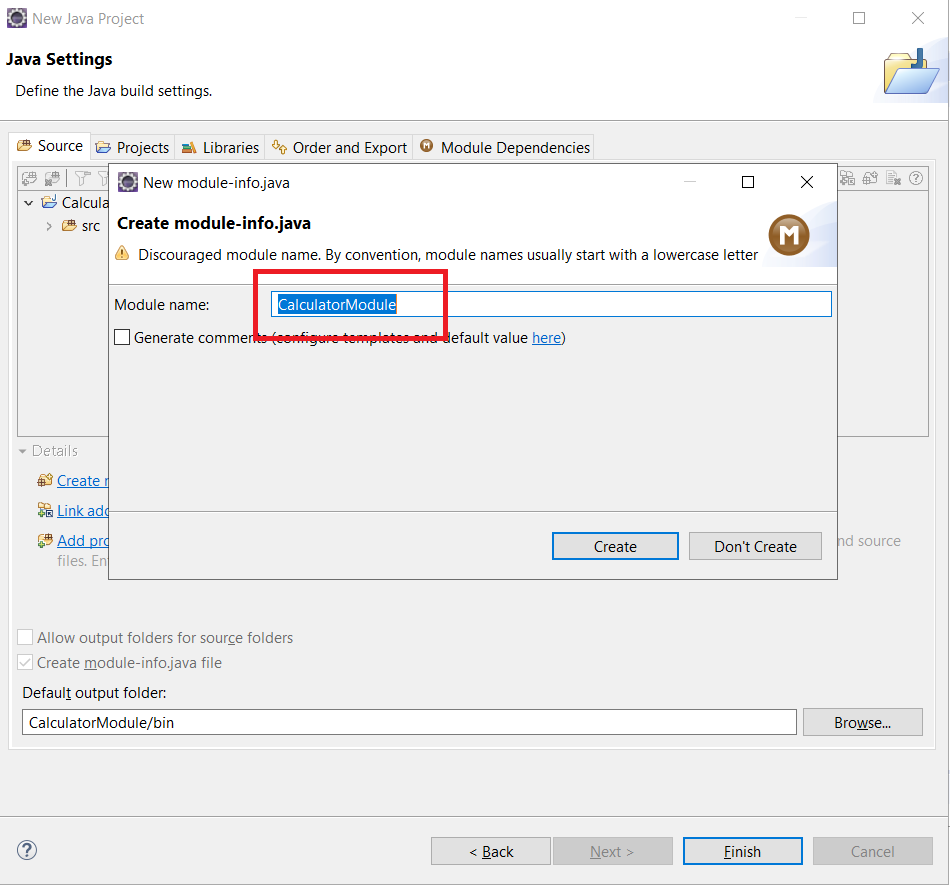
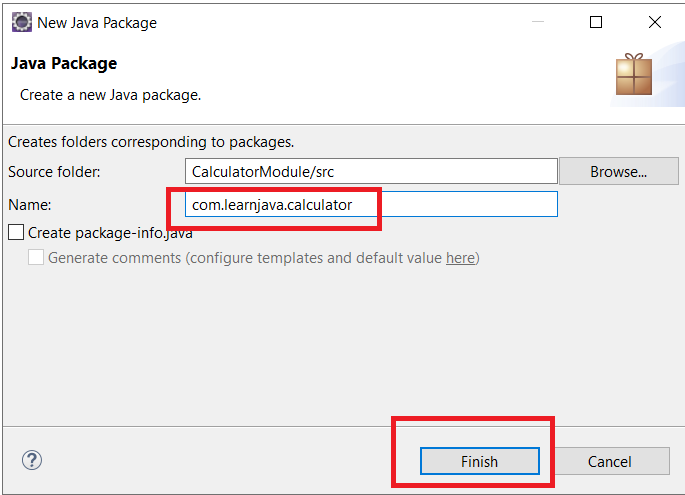
Step 5 – Enter the module name as “com.learnjava.calculatormodule”
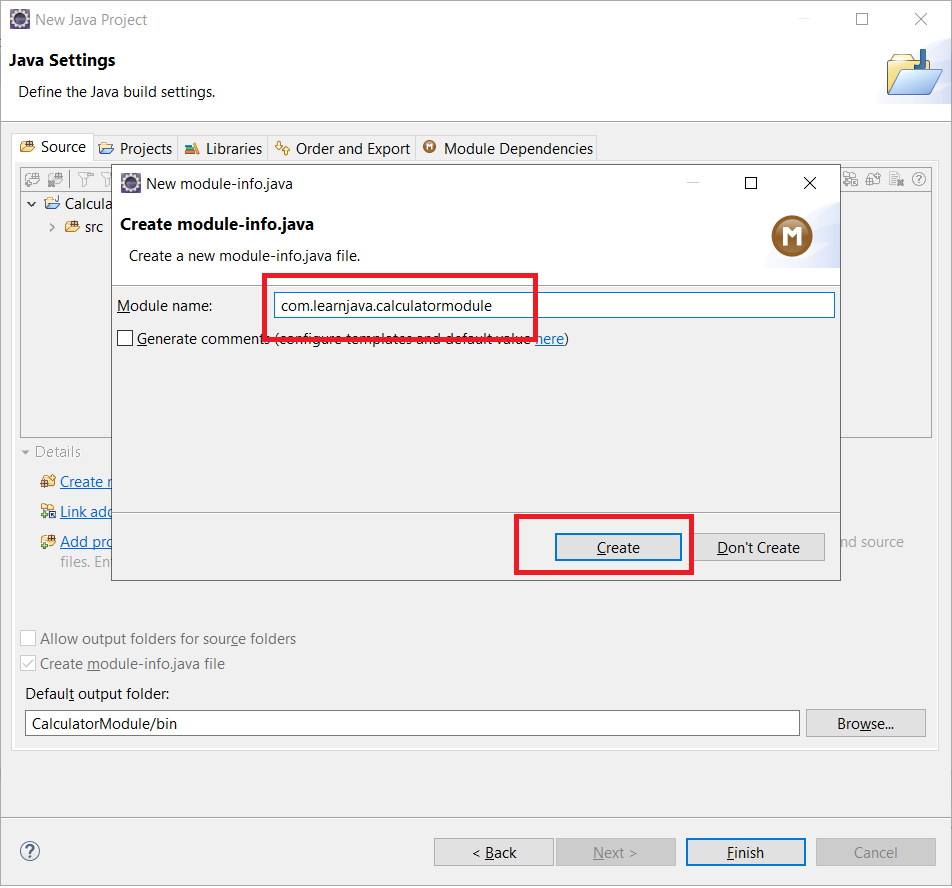
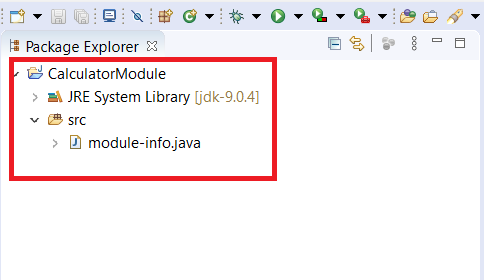
Step 6 – Click “Create”. The Java project is created successfully with the project structure as shown below. The module-info.java file is created. As covered in my earlier article, the “module-info.java” file contains information about the packages required by the module, exported by the module, etc.
Step 7 – Create new package “com.learnjava.calculator” in the project:
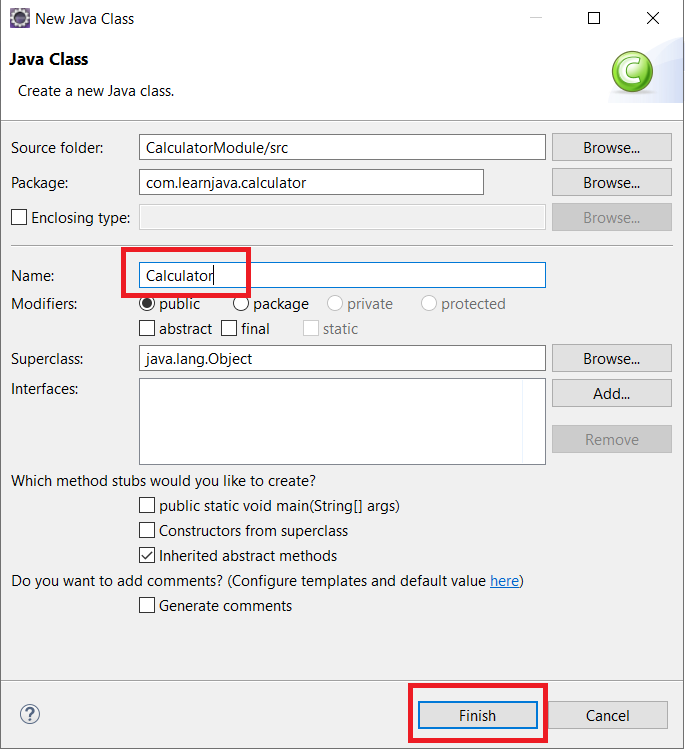
Step 8 – Create a class called Calculator in the package:
Step 9: Add the following code in the Calculator class:
public class Calculator {

  public int add(int a,int b) {
    return a+b;
  }

}
Step 10 – Specify the package to be exported in the module-info file:
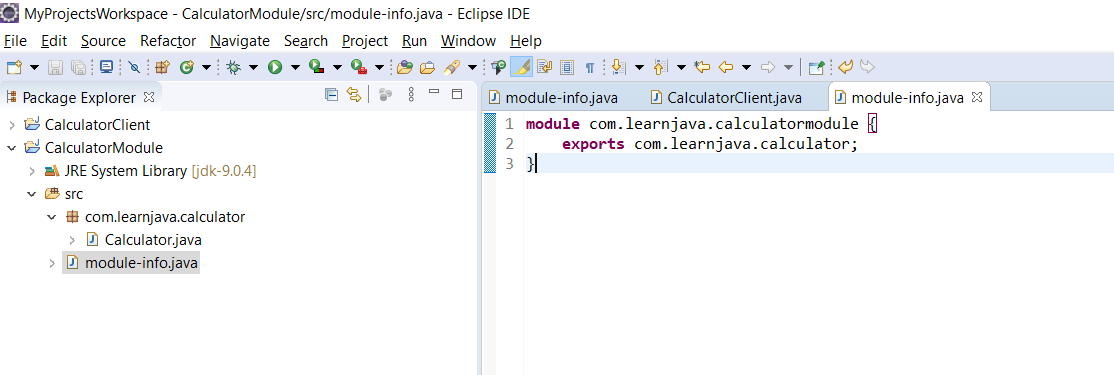
So now, we have created a Java project with a module “com.learnjava.calculatormodule”. This module exports the com.learnjava.calculator that has the Calculator.java class.
Creating a Module Client
A module client is a separate module that uses code from another module. So let us write some code that uses the Calculator class.
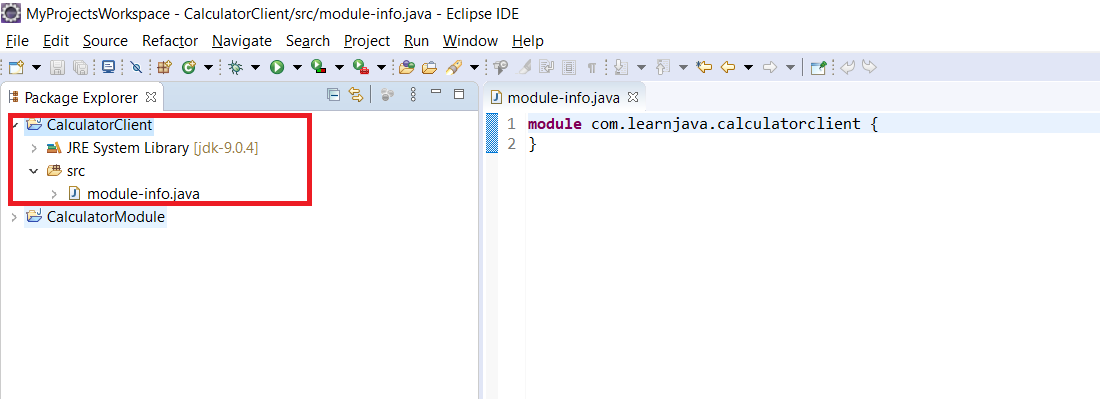
Step 1 – Follow steps 1-5 above and create a new project “CalculatorClient” with a module “com.learnjava.calculatorclient” as follows:
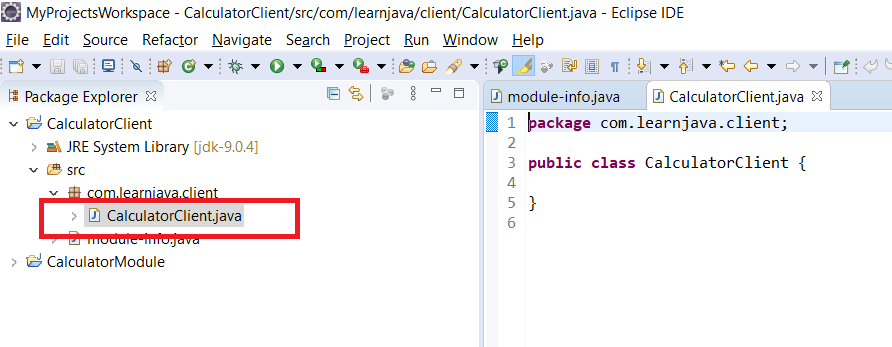
Step 2 – Create a new package “com.learnjava.client” and a class “CalculatorClient” within that package:
Step 3 – Specify the required package in the module-info file:
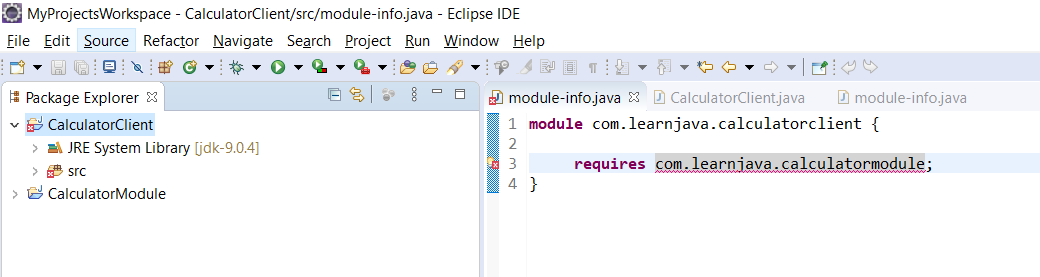
So this means that the com.learnjava.calculatorclient module requires the com.learnjava.calculatormodule. If this requires attribute is not specified here, the com.learnjava.calculatorclient module will not be able to access the com.learnjava.calculatormodule.
The above step will cause a compilation error since the com.learnjava.calculatormodule is not present on the build path. So we need to fix the project setup as follows:
Step 4a: Right click on the project –> properties:
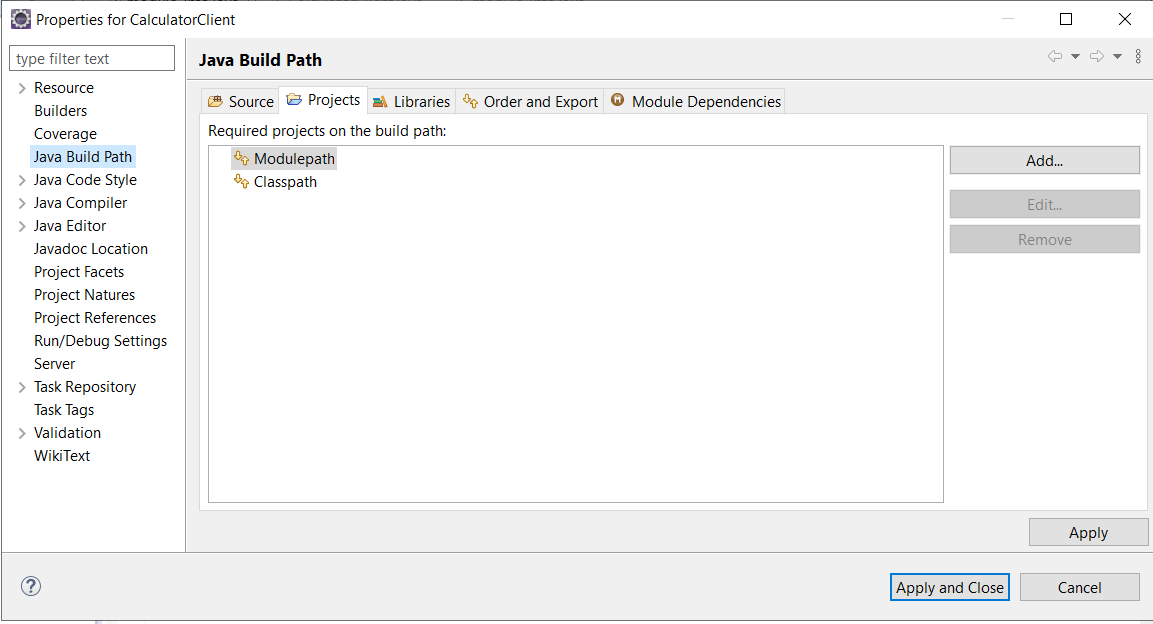
Step 4b: Click on “Add”.
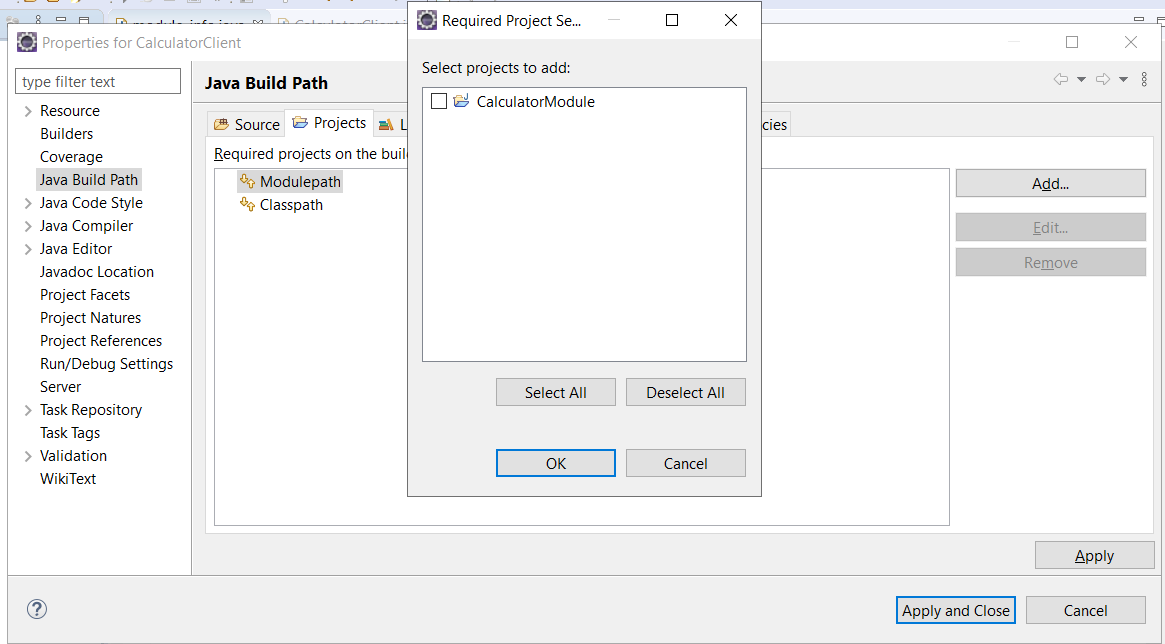
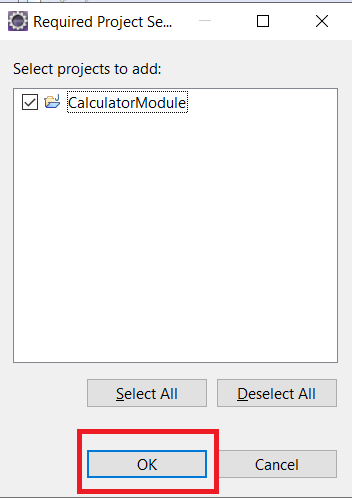
Step 4c: Select CalculatorModule. Click OK
Step 4d: This adds the calculator module to the path. Click on “Apply And Close”:
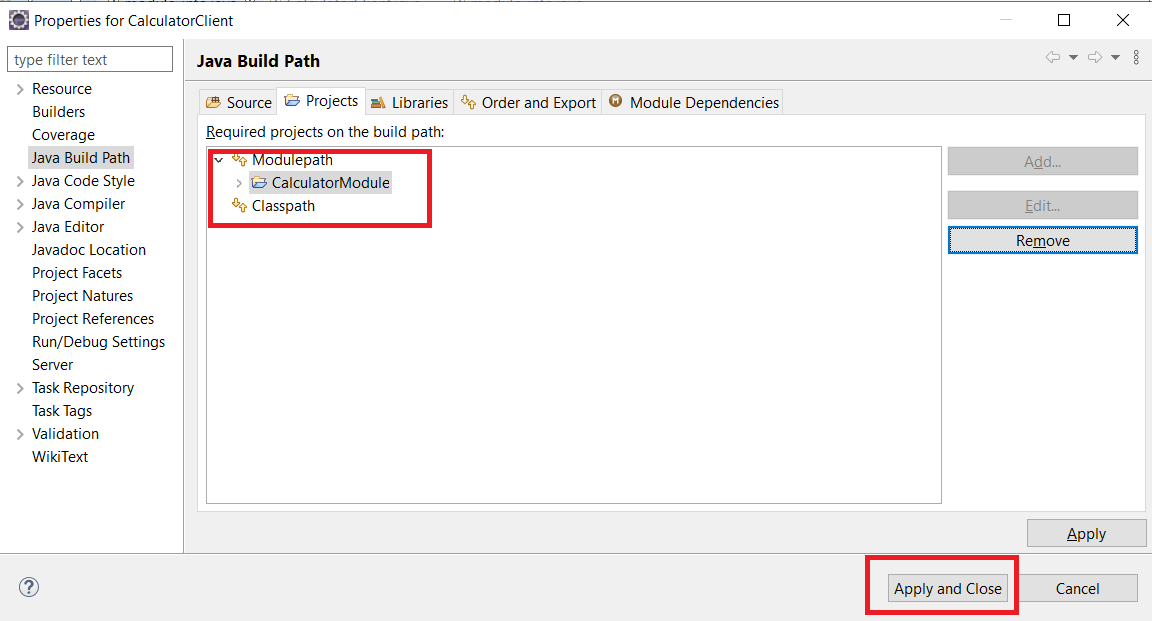
Now the compilation error will go away.
Step 5: Add the following code to the CalculatorClient class:
package com.learnjava.client;

import com.learnjava.calculator.Calculator;

public class CalculatorClient {

  public static void main(String args[]) {
    Calculator calculator = new Calculator();
    int result = calculator.add(5, 10);
    System.out.println("Result is:"+result);
  }

}
So this code invokes the Calculator.add method from the com.learnjava.calculatormodule
Step 6: Run the CalculatorClient class. This will print the following output:
17
Conclusion
So in this article, we saw how to create and use a Java 9 module in Eclipse. This article is the final article in the Java 9 series.