How to setup Tomcat in Eclipse
Posted On
Posted By admin
In this blog post, I will demonstrate how to set up Tomcat in Eclipse.
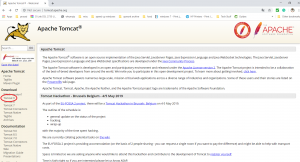
Step 1 – Visit Tomcat Site and select Tomcat 9
Go to the Tomcat site – http://tomcat.apache.org/. Click on Tomcat 9 in the left pane as shown below:
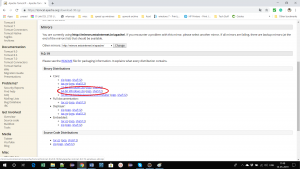
Step 2 – Download the appropriate version
I will be downloading the 64-bit windows version
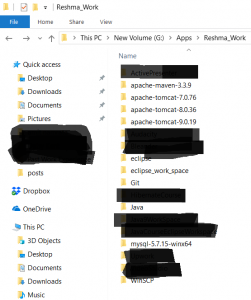
Step 3 – Extract the contents of the zip file to an appropriate folder
The zip file will contain a folder with the name as “apache-tomcat-9.0.19”. Copy this to an appropriate folder
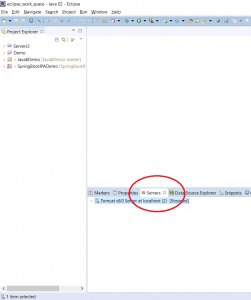
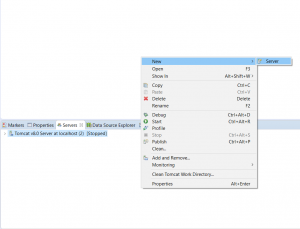
Step 4 – Open Eclipse. Go to servers tab
Step 7 – Right click –> New –> Server
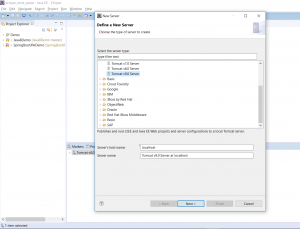
Step 8 – Select Tomcat 9.0 Server
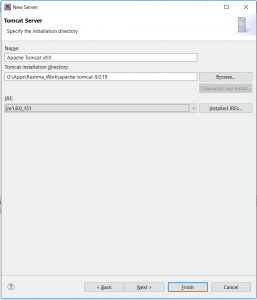
Step 9 – Click Next. Select Tomcat installation directory and JRE 1.8.
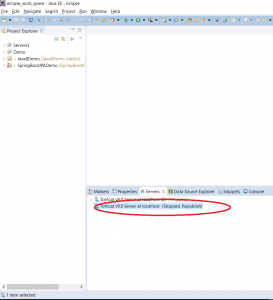
Step 10 – Click Finish
Further Reading
- Fundamentals of Apache Tomcat
- Beginning with Eclipse IDE
- Apache Tomcat Beginners to Advanced
- Java Programming in Eclipse
If you like this post, please do let me know via the comments box below. You can also connect with me via my Facebook Page or subscribe to my Youtube channel!
