How to create a Maven web project in Eclipse
In this blog post, I will be explaining how to create a web project in Eclipse with Maven support.
Table Of Contents
Create a Dynamic web project
Step 1 -Click on “File –> New –> Other”
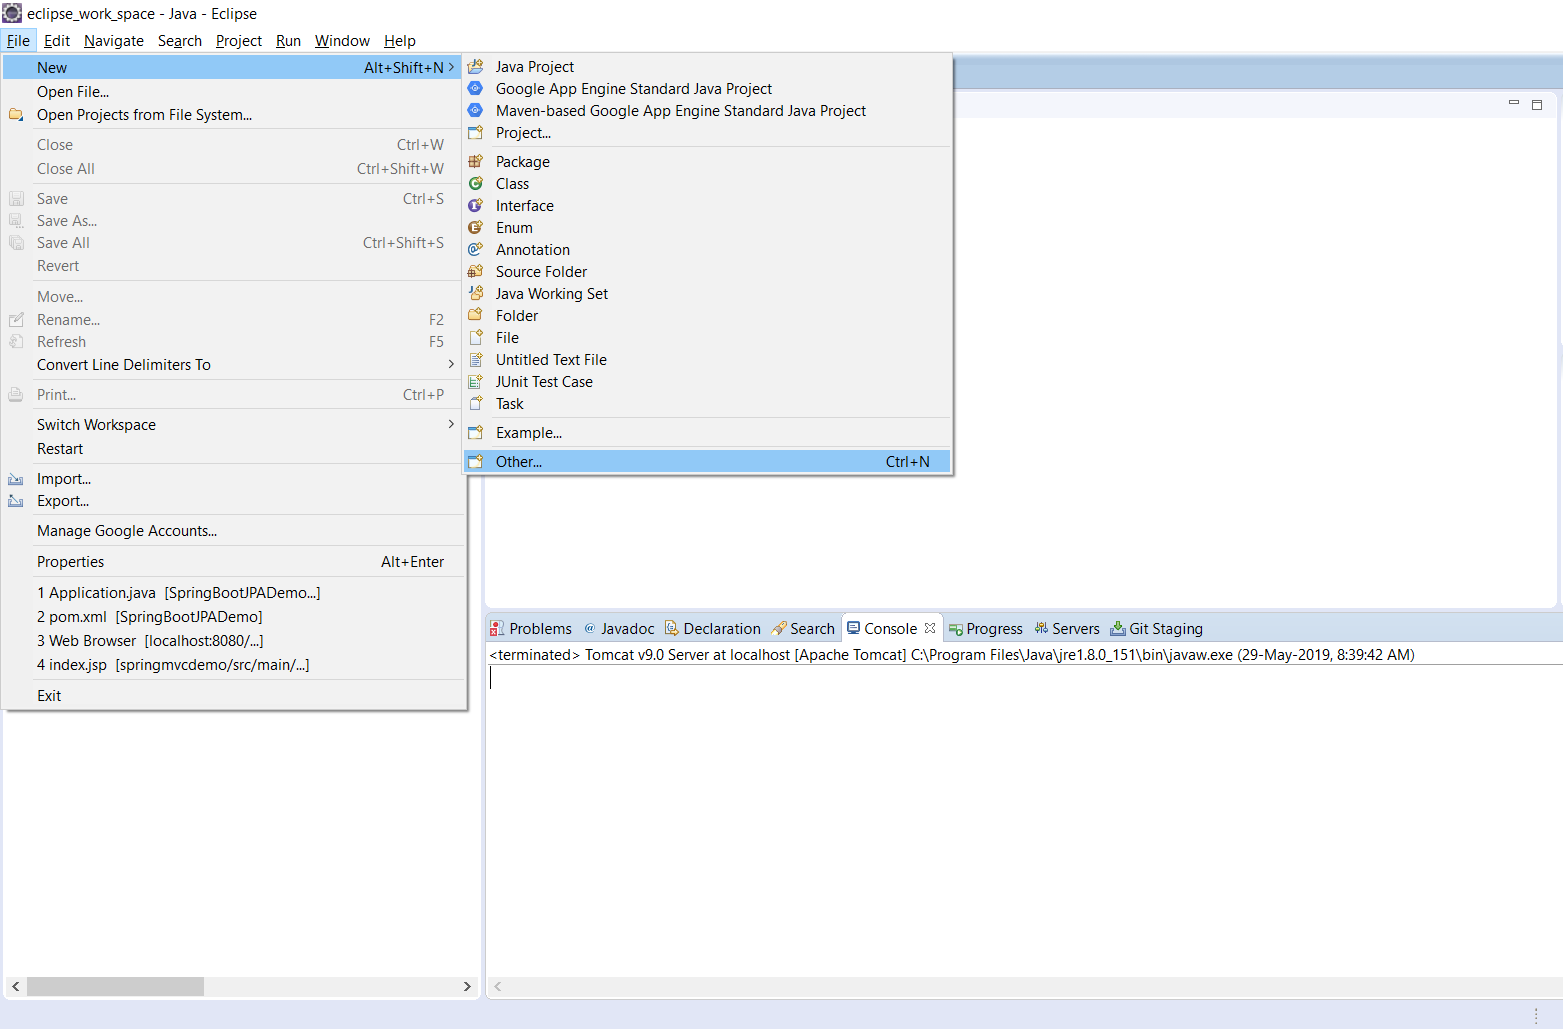
Step 2 – Click on Dynamic Web Project
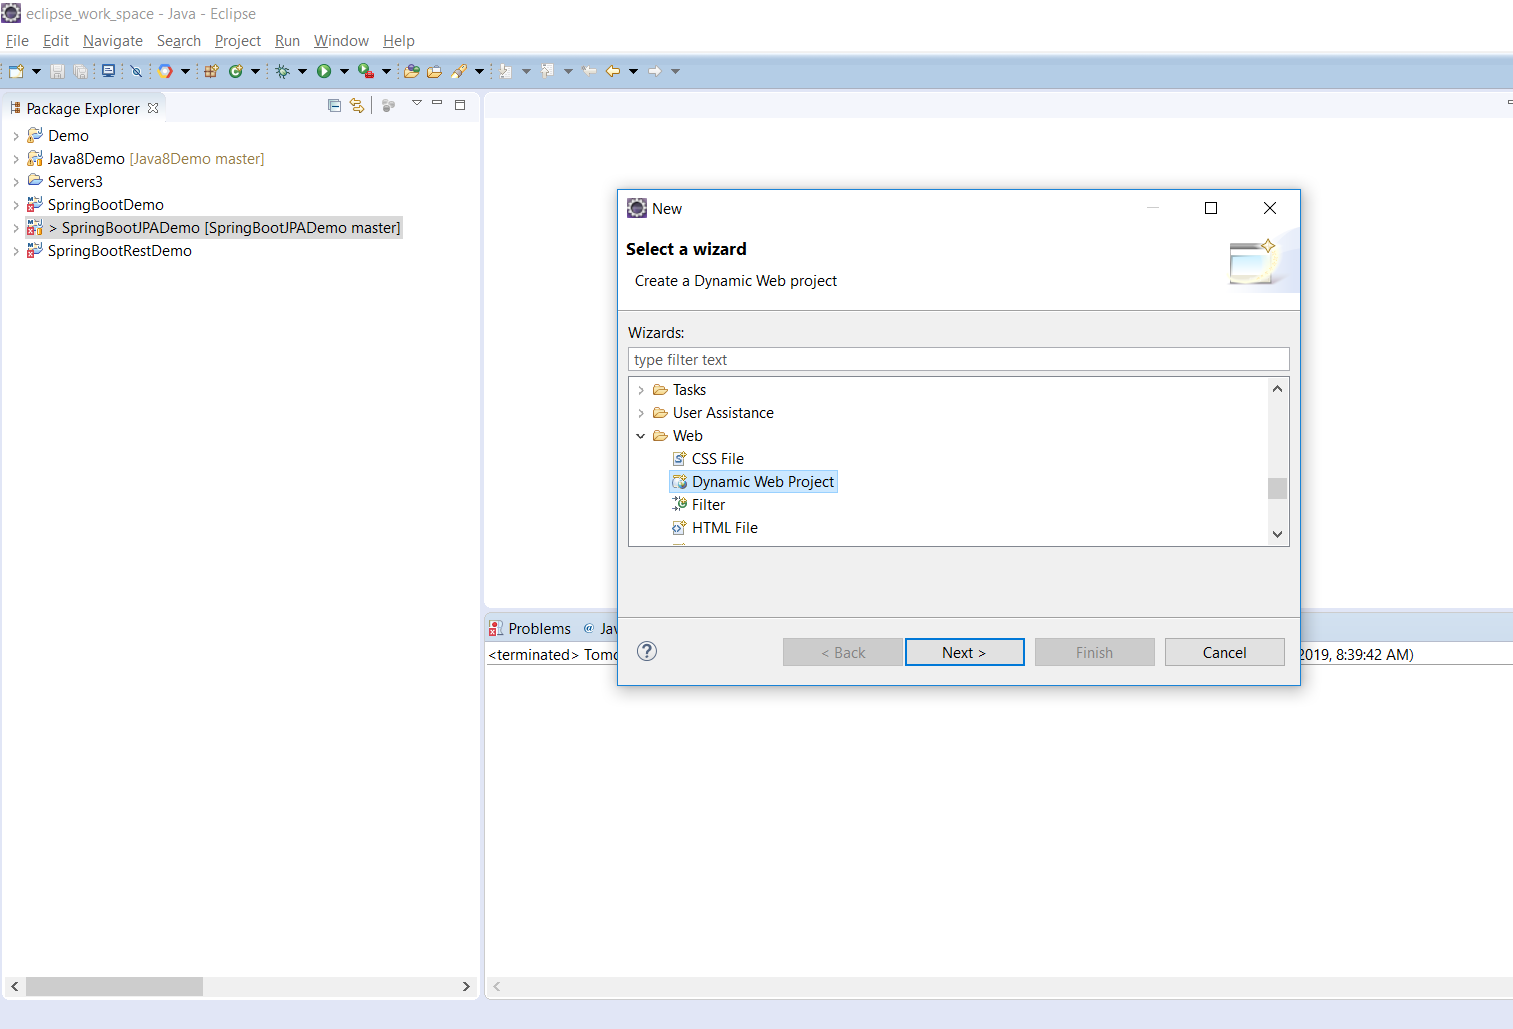
Step 3 – Type some project name

Step 4 – Click on Next
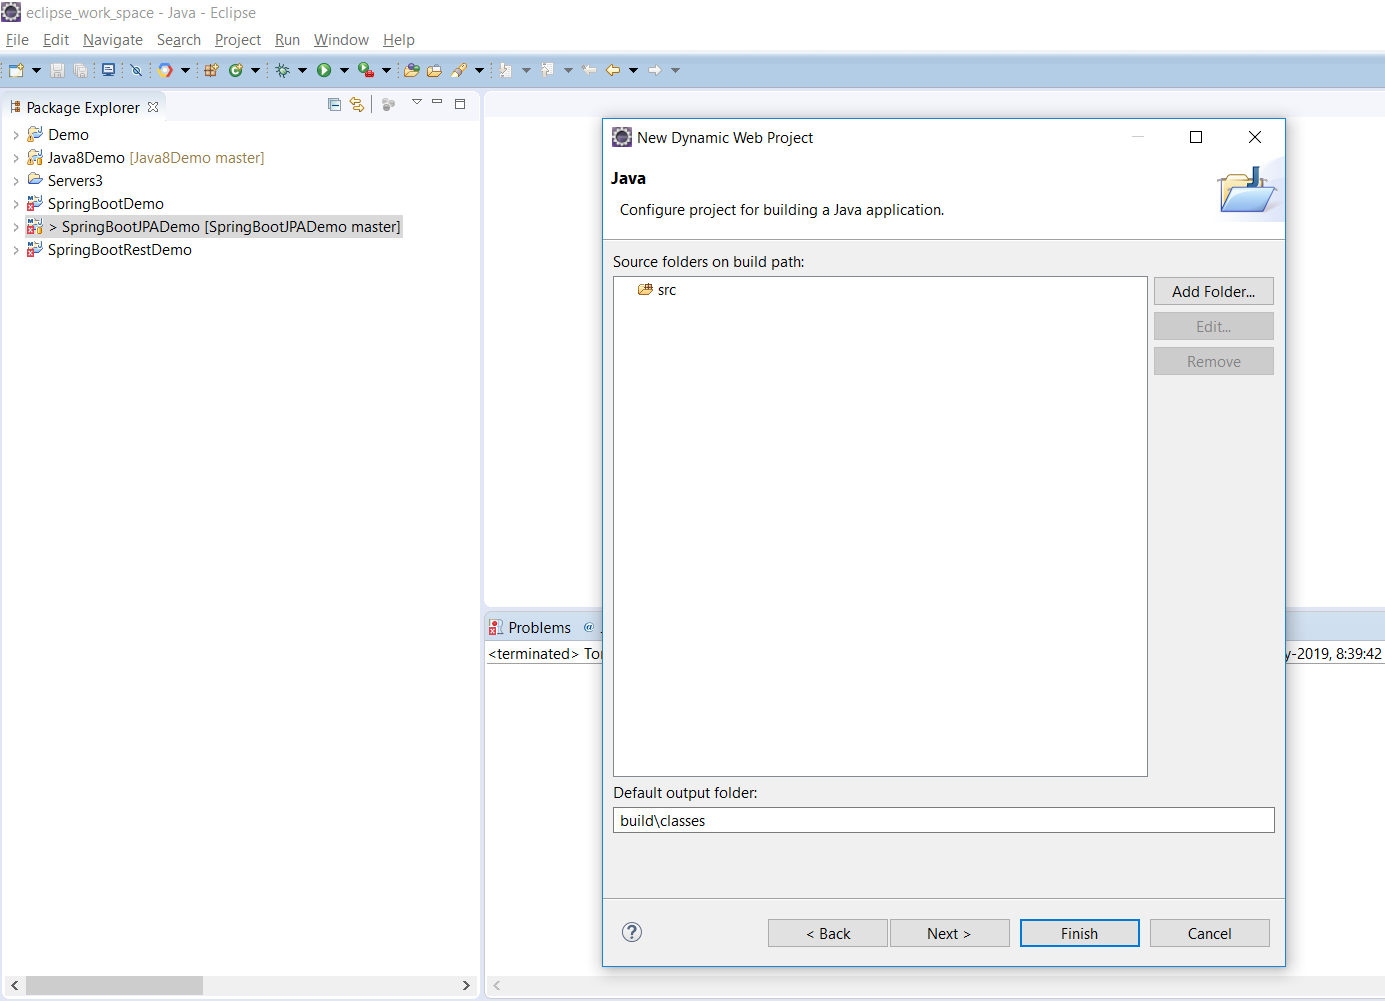
Step 5 – Click on “Next”
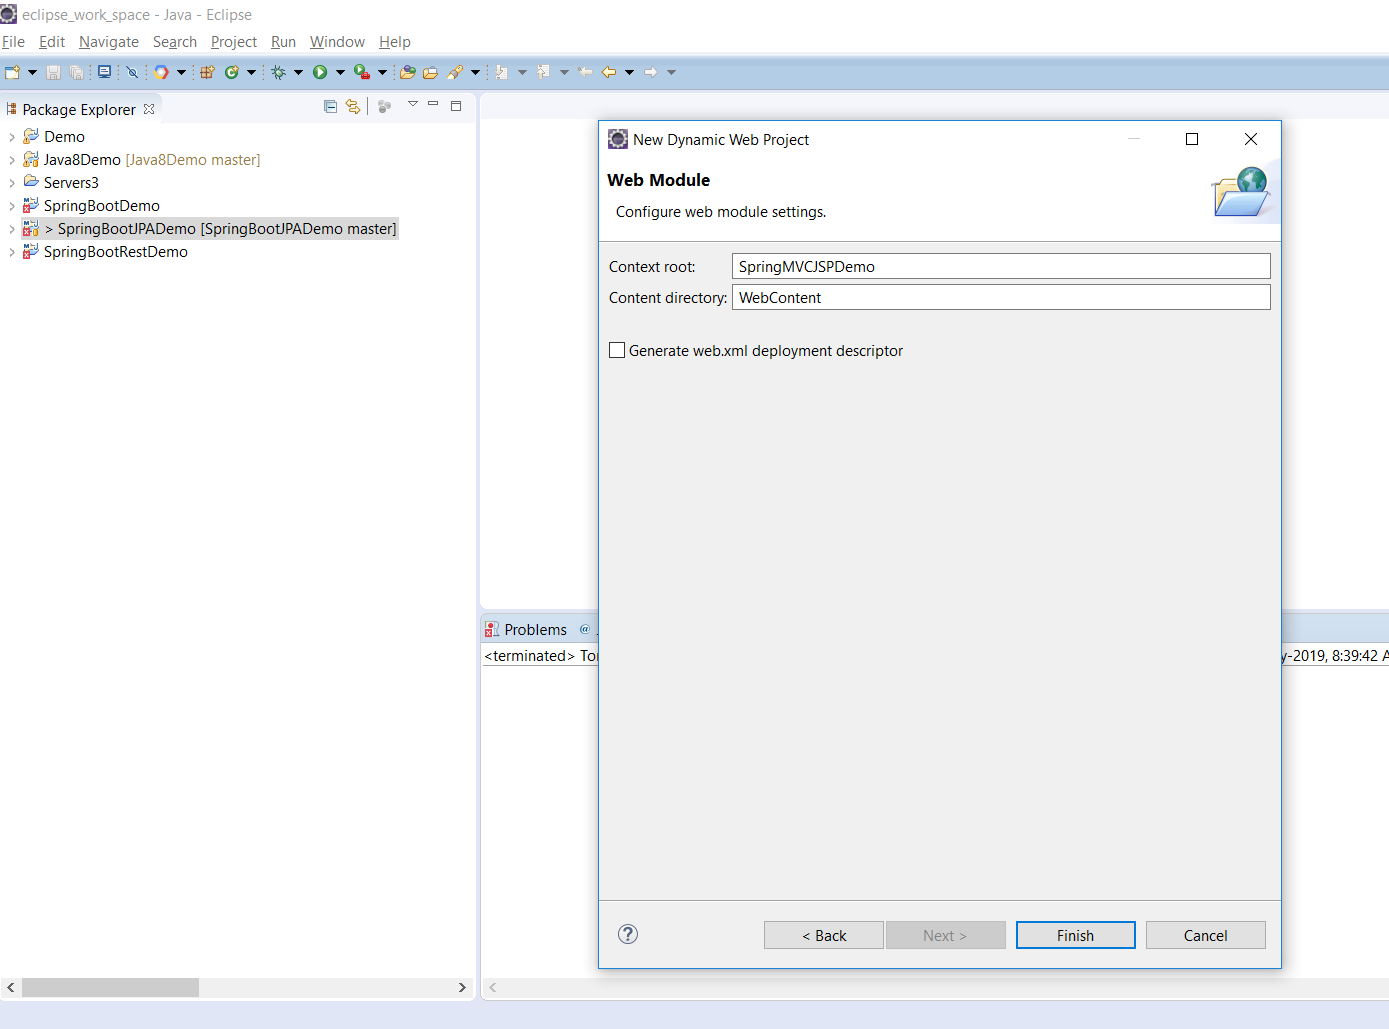
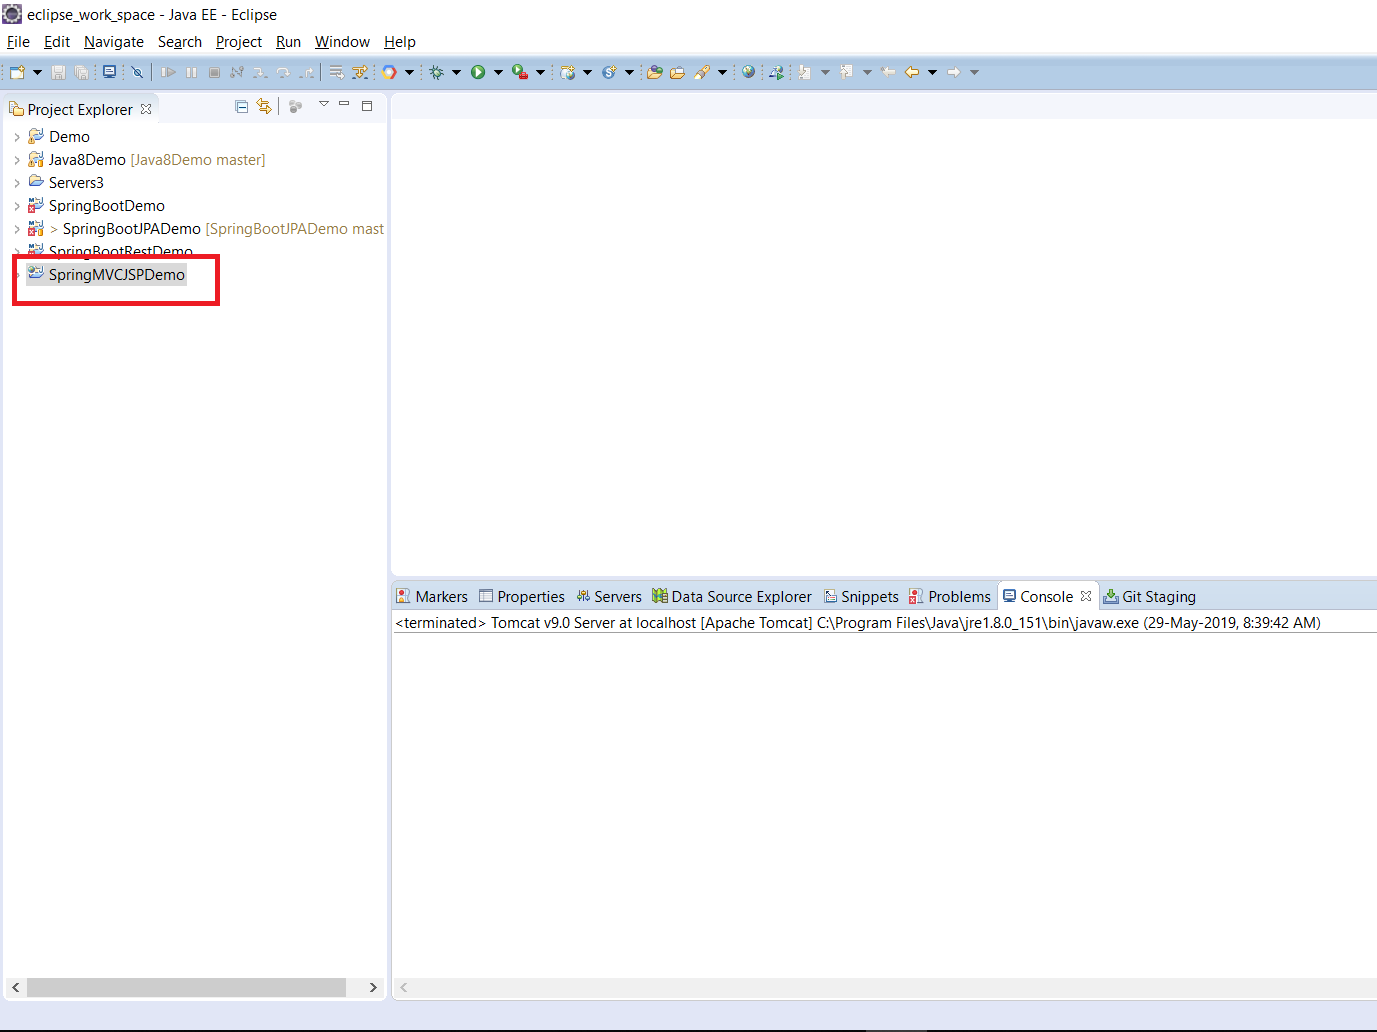
Step 6 – “Click on Finish”. This will create a project as follows:
Create web.xml
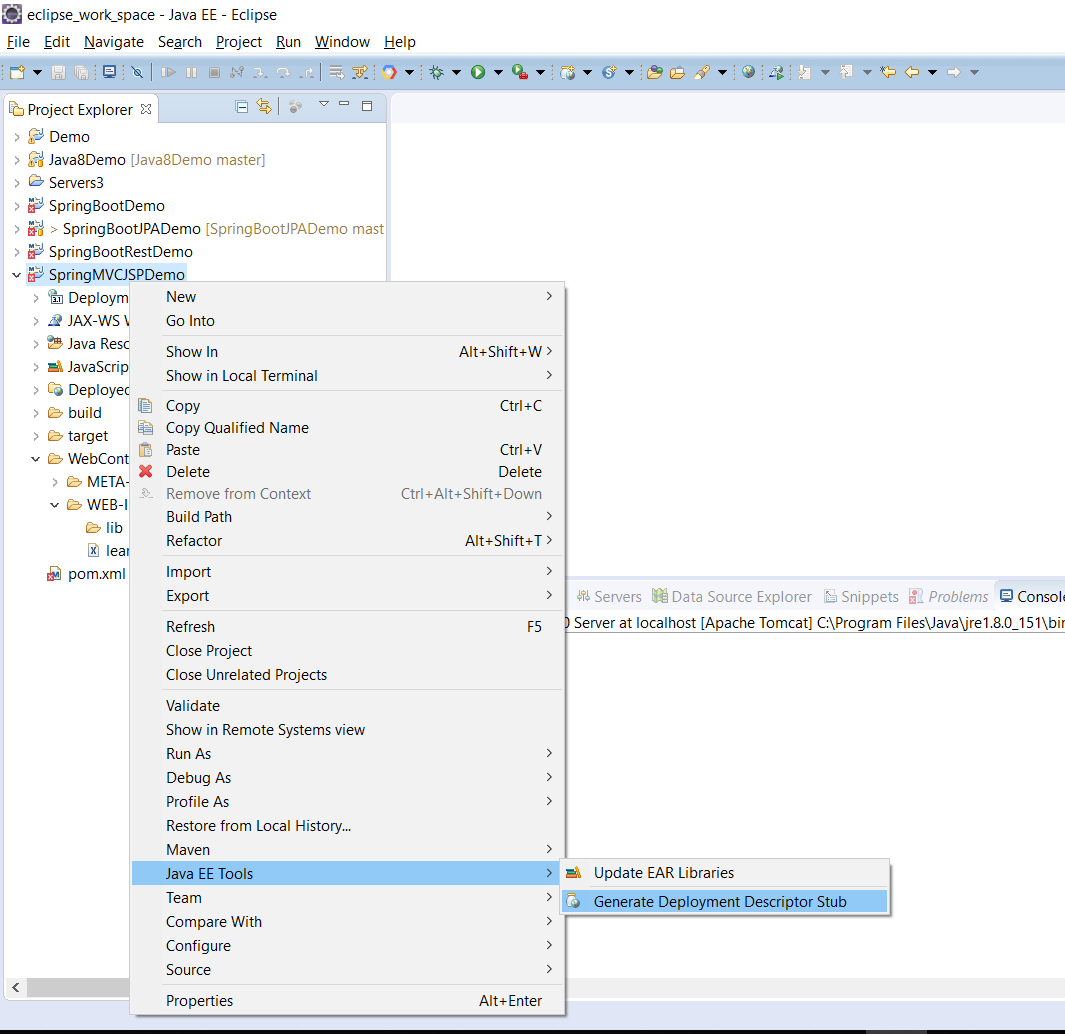
Sometimes, Eclipse may not automatically create the web.xml file. So if this file is not present in your web-inf folder, you need to follow these steps.
Step 1 – Right click on project –> Java JEE Tools –> Generate Deployment Descriptor Stub
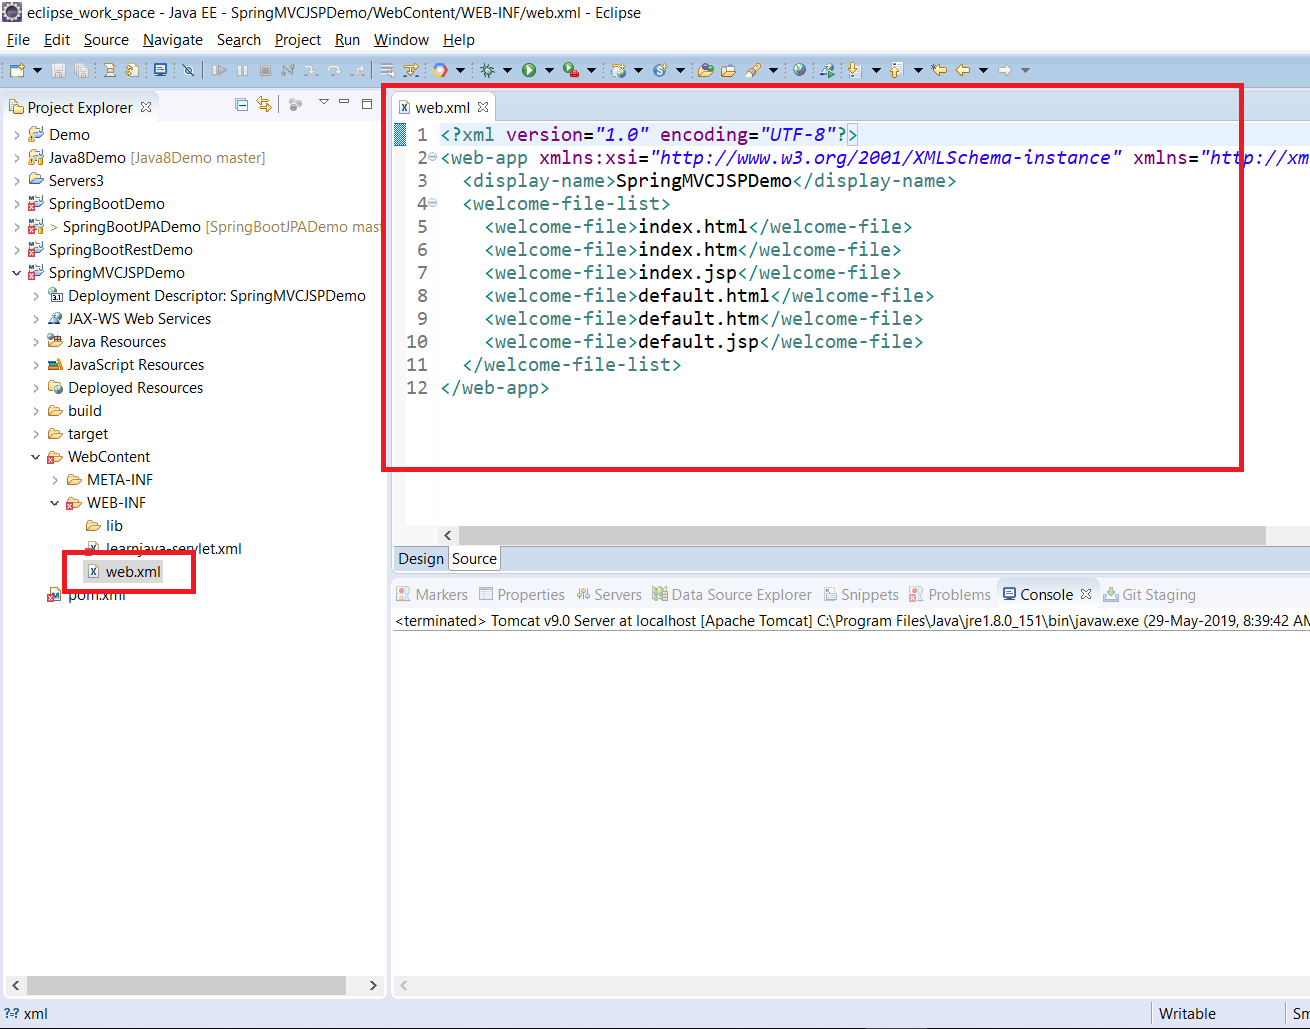
This will create a web.xml file as follows:
Add Maven Support
Step 1 – Right-click on Project –> Configure –> Convert to Maven Project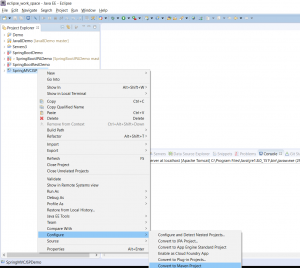
Step 2 – Click Finish
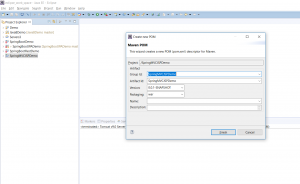
This will add a pom file to the project as follows:

Now you can add the necessary dependencies to your pom file. So for example, if you are creating a Spring application, you can add Spring dependencies.
You can also use this as a template to create any web application with Maven support.
Further Reading