How to create a Spring Boot REST service with XML output
 Posted On
In this article, I will be explaining how to create a Spring Boot REST service that produces an XML output.
Table Of Contents
Project Creation and Setup
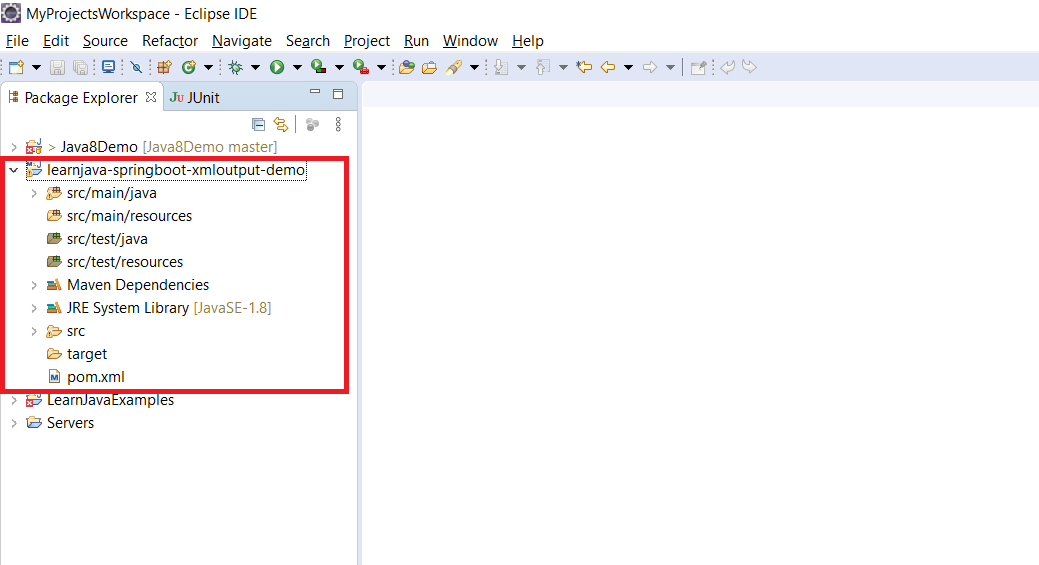
Step 1 – Create a new Maven Project (Refer to this blog post). This should create a project as shown below:
Step 2 – Add the Spring Boot and Jackson dependency. So, your the pom.xml file should be similar to the following:
<project xmlns="http://maven.apache.org/POM/4.0.0"
  xmlns:xsi="http://www.w3.org/2001/XMLSchema-instance"
  xsi:schemaLocation="http://maven.apache.org/POM/4.0.0 https://maven.apache.org/xsd/maven-4.0.0.xsd">
  <modelVersion>4.0.0</modelVersion>
  <groupId>com.learnjava</groupId>
  <artifactId>learnjava-springboot-xmloutput-demo</artifactId>
  <version>0.0.1-SNAPSHOT</version>
  <parent>
    <groupId>org.springframework.boot</groupId>
    <artifactId>spring-boot-starter-parent</artifactId>
    <version>2.1.2.RELEASE</version>
  </parent>
  <dependencies>
    <dependency>
      <groupId>org.springframework.boot</groupId>
      <artifactId>spring-boot-starter-web</artifactId>
    </dependency>
        <dependency>
            <groupId>com.fasterxml.jackson.dataformat</groupId>
            <artifactId>jackson-dataformat-xml</artifactId>
        </dependency>
    </dependencies>
    <properties>
        <java.version>1.8</java.version>
    </properties>
</project>
Writing Code
Step 3 – Create a Book class as follows:
package com.learnjava.springbootxmldemo.book;

public class Book {

  private int id;
  private String name;
  private String author;

        //constructor, getters and setters
}
This class represents a Book. It has fields corresponding to id, name and author.
Step 4 – Create a BookController class as follows:
package com.learnjava.springbootxmldemo.book;

import java.util.ArrayList;
import java.util.List;

import org.springframework.web.bind.annotation.GetMapping;
import org.springframework.web.bind.annotation.RestController;

@RestController
public class BookController {

   @GetMapping(value="/books",produces = { "application/xml", "text/xml" })
    public List<Book> getAllBooks(){
      //Returns hardcoded data, a real world application would return from the database
      List<Book> books = new ArrayList<Book>();
      books.add(new Book(1,"Emma", "Jane Austen"));
      books.add(new Book(2,"Harry Potter", "JK Rowling"));
      books.add(new Book(3,"The Partner", "John Grisham"));
      return books;
    }

   @GetMapping(value="/book", produces = { "application/xml", "text/xml" })
    public Book getBook(){
      //Returns hardcoded data, a real world application would return from the database
      return new Book(1,"Emma", "Jane Austen");
    }
}
This is a Controller class and specifies the methods that handle client requests. . It has the RestController annotation specified.
It includes the following methods:
getAllBooks
- The GetMapping annotation is specified on this method. This specifies that this method maps to the /books URL and that it produces an XML output
- The method simply creates a List of type Book, adds some Book objects to it and returns it. A real-world application will typically query a database and obtain Book objects.
getBook
- Like getAllBooks, this method has the GetMapping annotation
- It returns a single Book object
Step 5 – Create a Main class as follows:
package com.learnjava.springbootxmldemo;

import org.springframework.boot.SpringApplication;
import org.springframework.boot.autoconfigure.SpringBootApplication;

@SpringBootApplication
public class Main {

    public static void main(String[] args) {
          SpringApplication.run(Main.class, args);
      }

}
This is the starting point of our Spring Boot application as explained here.
Running the application
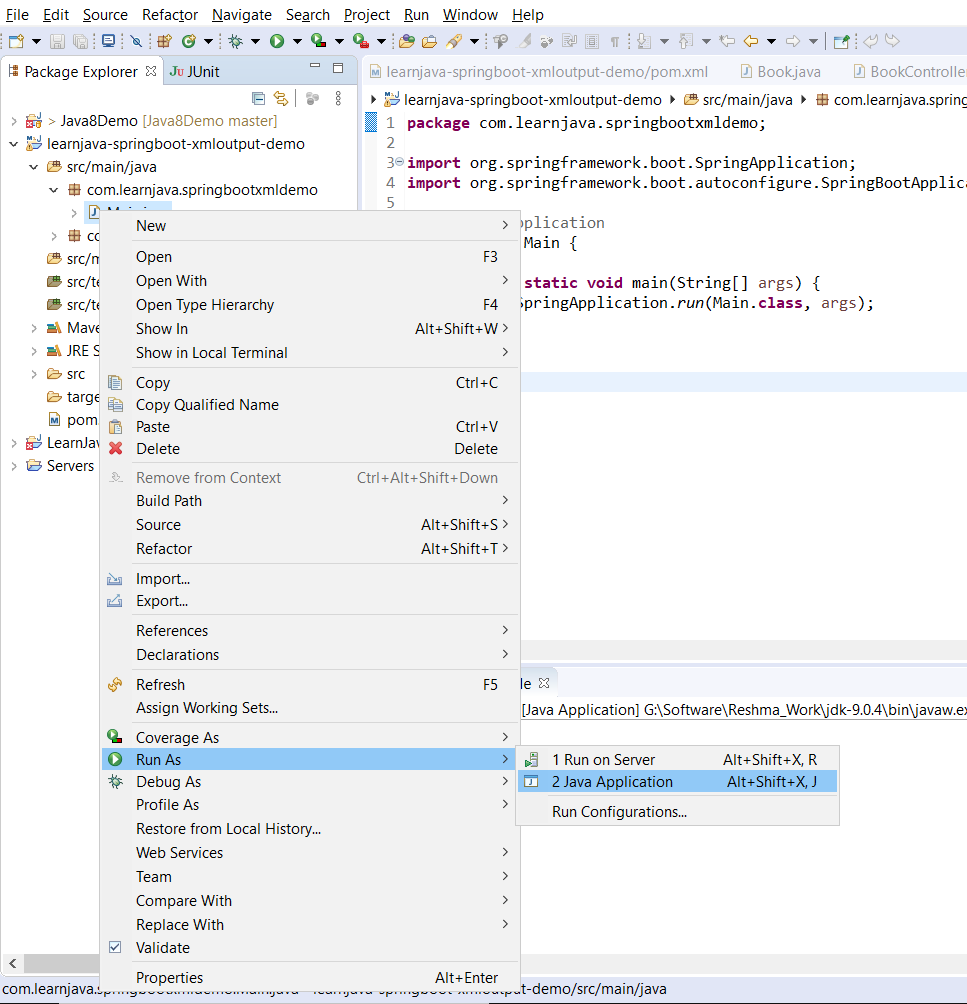
Step 6 – Run Main.java as a Java application as shown below:
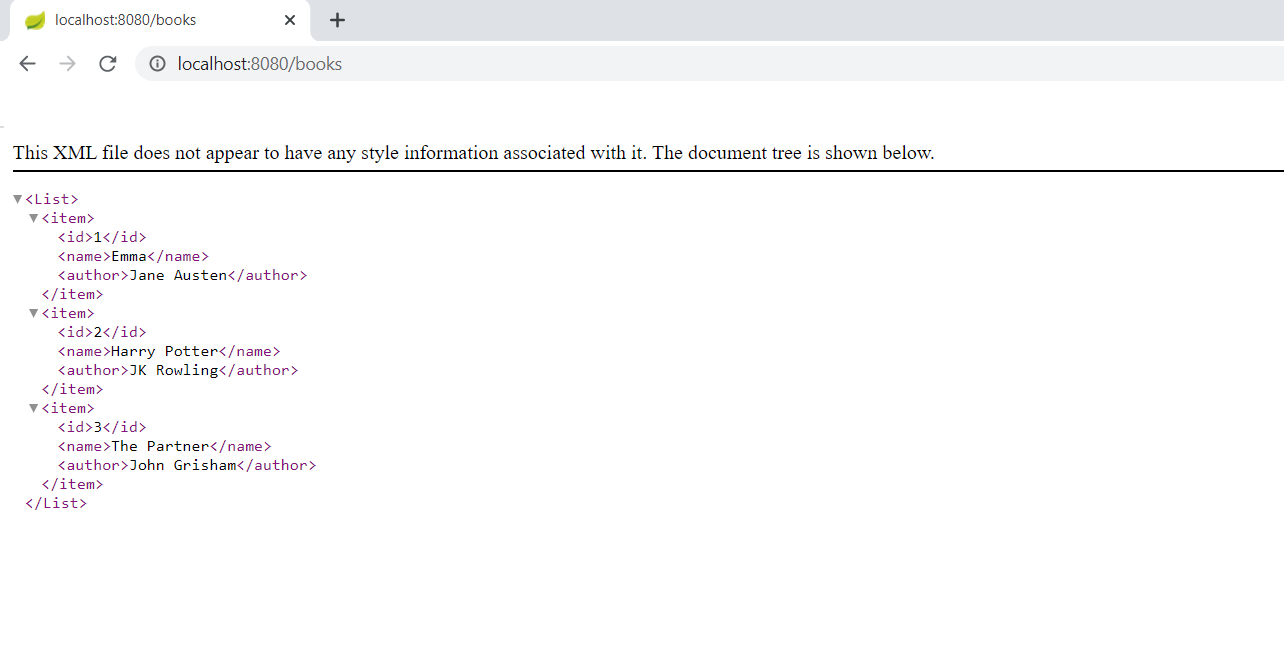
Step 7 – Open a browser window. Type http://localhost:8080/books/ . This displays the following XML output:
You can download the source code for this project via the Github repository here.
Conclusion
So, in this article, we saw how to create a Spring Boot application that produces an XML output.