How to create a Spring Boot Thymeleaf web application
 Posted On
In this article, I will be demonstrating creating a Spring Boot Thymeleaf web application.
Table Of Contents
Project Creation and Setup
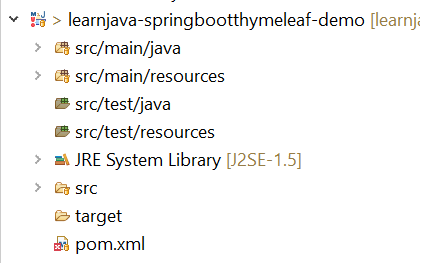
Step 1 – Create a new Maven Project (Refer to this blog post). This should create a project as shown below:
Step 2 – Add the Spring Boot and Thymeleaf dependency. So, the pom.xml file should be similar to the following:
<project xmlns="http://maven.apache.org/POM/4.0.0"
  xmlns:xsi="http://www.w3.org/2001/XMLSchema-instance"
  xsi:schemaLocation="http://maven.apache.org/POM/4.0.0 https://maven.apache.org/xsd/maven-4.0.0.xsd">
  <modelVersion>4.0.0</modelVersion>
  <groupId>com.learnjava</groupId>
  <artifactId>learnjava-springbootthymeleaf-demo</artifactId>
  <version>0.0.1-SNAPSHOT</version>
  <parent>
    <groupId>org.springframework.boot</groupId>
    <artifactId>spring-boot-starter-parent</artifactId>
    <version>2.1.2.RELEASE</version>
  </parent>
  <dependencies>
    <dependency>
      <groupId>org.springframework.boot</groupId>
      <artifactId>spring-boot-starter-web</artifactId>
    </dependency>
    <dependency>
      <groupId>org.springframework.boot</groupId>
      <artifactId>spring-boot-starter-thymeleaf</artifactId>
    </dependency>
  </dependencies>

</project>
Writing Simple Code
Step 3 – Creating a Controller class
Let us first create a simple controller that displays a static html page without any data:
package com.learnjava.springbootthymeleafdemo.welcome;

import org.springframework.stereotype.Controller;
import org.springframework.web.bind.annotation.GetMapping;

@Controller
public class WelcomeController {

  @GetMapping("/")
  public String showHome() {
    return "home";
  }

}
- The
WelcomeControllerclass has the @Controller annotation. This designates the class as an MVC controller. - It has a
showHomemethod. The GetMapping annotation specifies that this maps to the “/” path. - It simply returns the String hello. This specifies the name of the Thymeleaf template (an html file) that needs to be displayed.
Step 4 – Creating the Thymeleaf template file
As seen earlier, the controller returns the name of the Thymeleaf template. An HTML file with this name needs to be present in a templates folder within the src/main/resources folder. So, we need to create home.html within the src/main/resources/templates folder as follows:
<!DOCTYPE html>
<html>
   <head>
      <title>LearnJava Spring Boot Application</title>
       <link href = "css/style.css" rel = "stylesheet"/>
   </head>
   <body>
      <h2>Welcome to LearnJava!</h2>
   </body>
</html>
- This is a simple html file that displays a message
- It references the style.css.
Step 5 – Creating CSS file
The Thymeleaf template can optionally refer a CSS file as done above. In such cases, the specified CSS file needs to be present in a static folder within the src/main/resources folder. So, we need to create style.css within the src/main/resources/static folder as follows:
h2 {
   color: blue;
}
- This is a simple CSS file that displays H2 headings in blue colour.
Running the application
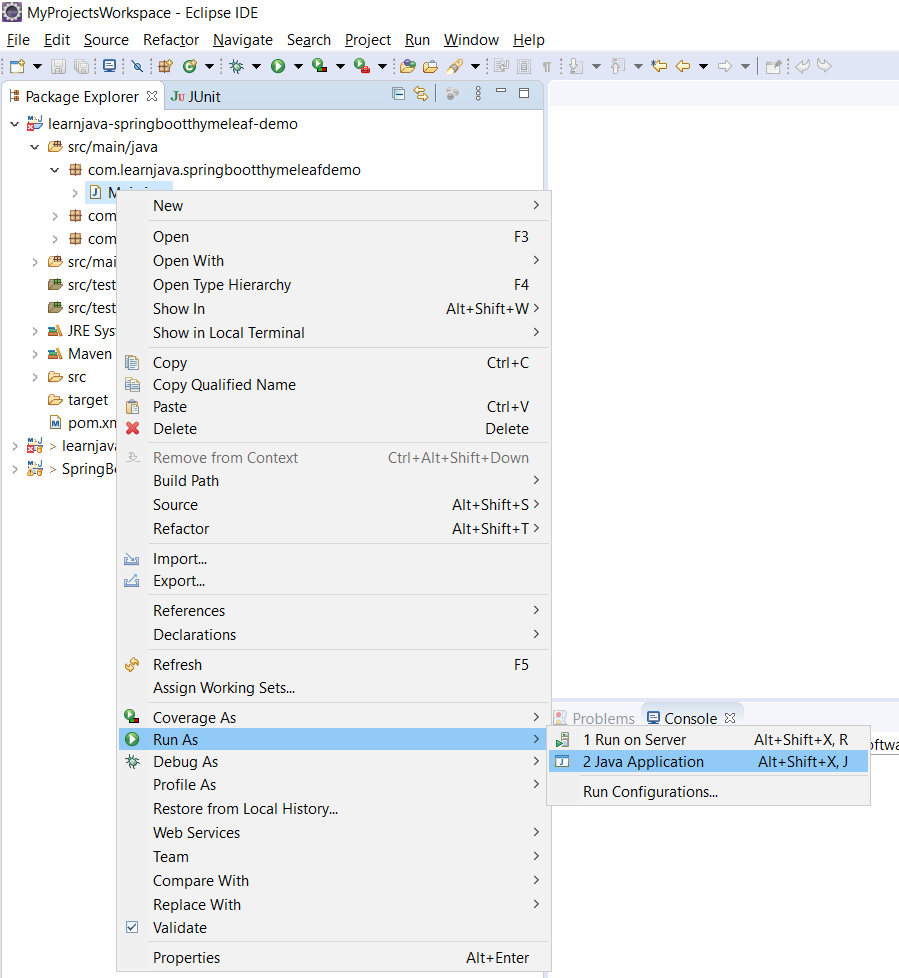
Step 6 – Run Main.java as a Java application as shown below:
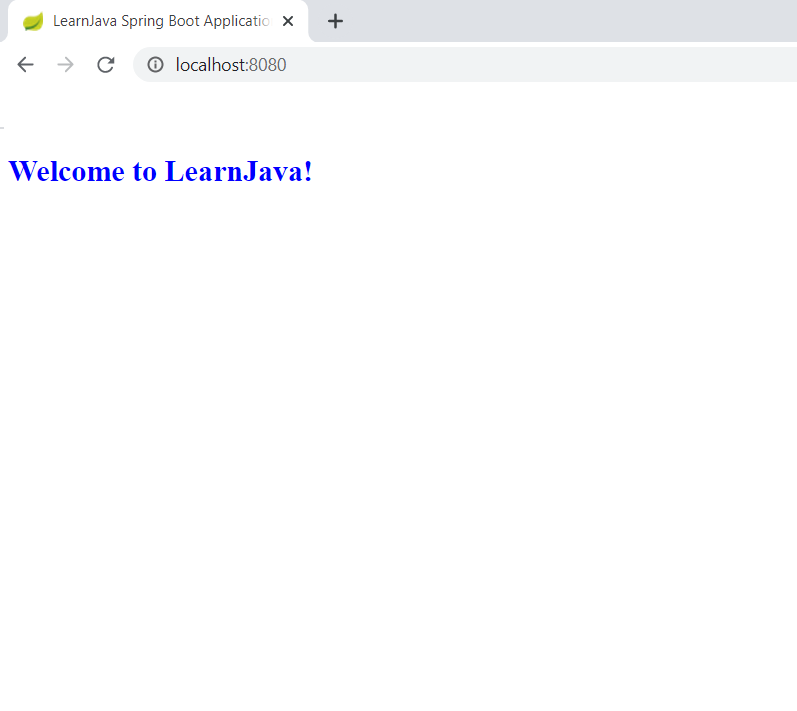
Step 7 – Open http://localhost:8080/ in browser. This displays the following output:
Some More Code
Most real-world applications require to do more complex things than display a simple message. Let us write some more code that displays data in a tabular form.
Step 8 – Create a Book class as follows:
public class Book {

  private int id;
  private String name;
  private String author;

     // constructor, getters and setters

}
- The
Bookclass has fields corresponding toid,nameandauthor
Step 9 – Create a BookController class as follows:
import java.util.ArrayList;
import java.util.List;

import org.springframework.beans.factory.annotation.Value;
import org.springframework.stereotype.Controller;
import org.springframework.ui.Model;
import org.springframework.web.bind.annotation.GetMapping;

@Controller
public class BookController {

  @Value("${greeting}")
  private String greeting;

   @GetMapping("/books")
    public String getAllBooks(Model model){
      //Returns hardcoded data, a real world application would return from the database
      List<Book> books = new ArrayList<Book>();
      books.add(new Book(1,"Emma", "Jane Austen"));
      books.add(new Book(2,"Harry Potter", "JK Rowling"));
      books.add(new Book(3,"The Partner", "John Grisham"));
      model.addAttribute("books", books);
      model.addAttribute("greeting",greeting);
      return "books";
    }

}
- The
BookControllerclass has agreetingfield. It has the@Valueannotation with the value $greeting. This value can be set in the application.properties file as explained below. - The
BookControllerclass also has agetAllBooksmethod. This maps to the “/books” path as specified via the GetMapping annotation. - It accepts a Model object as a parameter. In Spring, A Model represents the data to be sent to the front-end.
- Next, the
getAllBooksmethod creates a List ofBookobjects and sets it as a Model attribute. In a typical Spring Boot application, data is retrieved via Spring Data JPA as demonstrated here. - Similarly, it also sets the
greetingfield as a Model attribute. - Thus, any data that needs to be sent to the HTML template, needs to be set as as model attribute like this.
- Finally, it returns the String books. This specifies the name of the Thymeleaf template.
Step 10 – Defining a greeting property
The BookController class has a greeting field. The @Value annotation assigns it a value via $greeting. Such properties need to be defined in an application.properties file within the src/main/resources folder. So, we need to create src/main/resources/application.properties as follows:
greeting=Hello!
Step 11 – Creating books.html
Just like home.html, we need to create books.html within the src/main/resources/templates folder as follows:
<html>
<head>
<title>Book</title>
</head>
<body>
<H2> <p th:text="${greeting}"></p></H2>
<table>
  <thead>
    <tr>
      <th>Book Id</th>
      <th>Book Name</th>
      <th>Book Author</th>
    </tr>
  </thead>
  <tbody>
    <tr th:each="book : ${books}">
      <td th:text="${book.id}"></td>
      <td th:text="${book.name}"></td>
      <td th:text="${book.author}"></td>
    </tr>
  </tbody>
</table>
</body>
</html>
- th:text is used to refer to the $greeting value
- th:each is used to iterate through the books list
- th:text is used to obtain the value of each book field
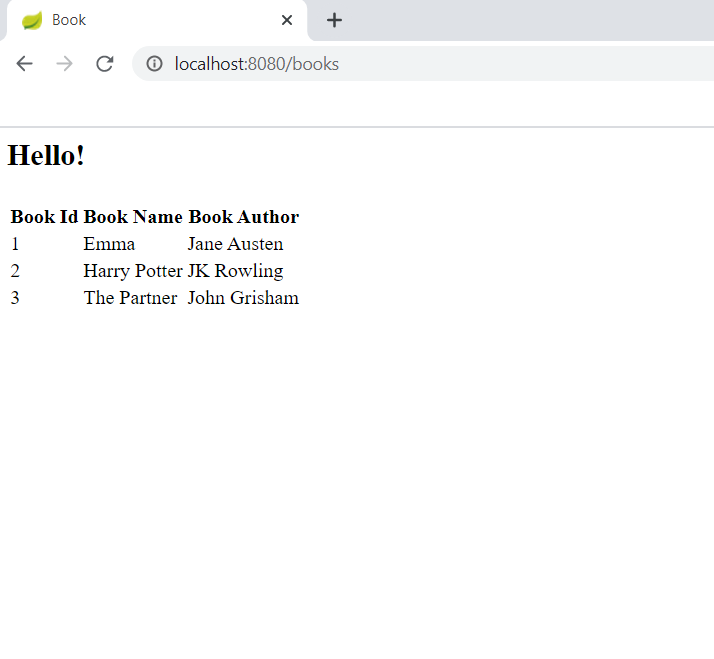
Step 12 – Run the application and type http://localhost:8080/books in a browser. This displays the following output:
You can download the complete source code from the GitHub Repository here.
Further Learning
Mastering Thymeleaf with Spring Boot
Spring Boot Tutorial for beginners
Spring Boot Fundamentals
Spring 5 with Spring Boot
Conclusion
So, in this article, we learnt how to create a simple Spring Boot Thymeleaf application.