How to create Spring Boot REST Service and Test it via Postman
In this blog post, I will be explaining how you can create a Spring Boot REST service. If you would like to see how to create a basic HelloWorld Spring Boot application refer to this blog post.
Table Of Contents
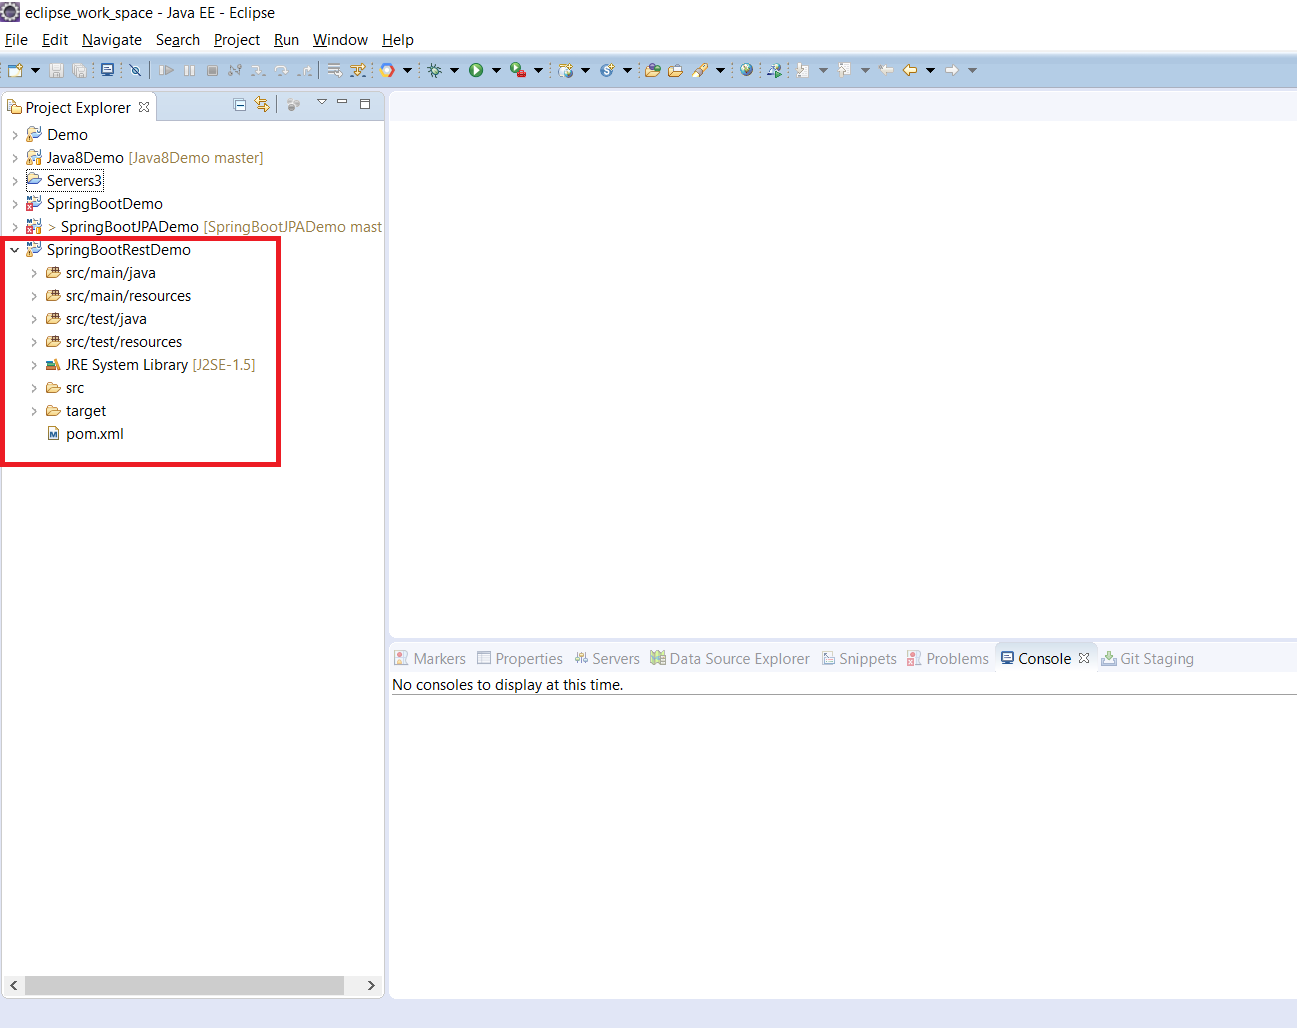
Project Creation and Setup
Step 1 – Create a new Maven Project (Refer to this blog post)
Step 2 – Add the following Spring Boot dependencies to the POM file and save.
	<parent>
  <groupId>org.springframework.boot</groupId>
  <artifactId>spring-boot-starter-parent</artifactId>
  <version>2.1.2.RELEASE</version>
</parent>
<dependencies>
<dependency>
  <groupId>org.springframework.boot</groupId>
  <artifactId>spring-boot-starter-web</artifactId>
</dependency>
</dependencies>
Writing Code
Step 3 – Create Person class as follows
package com.learnjava.model;

public class Person {

  private int id;
  private String name;
  private int age;

  public int getId() {
    return id;
  }
  public void setId(int id) {
    this.id = id;
  }

  public Person(){

  }

  public Person(int id,String name, int age) {
    super();
    this.id=id;
    this.name = name;
    this.age = age;
  }
//getter and setter methods
}
Person class
This is the model class. It represents a Person. It has 3 fields, id, name and age.
Step 4 – Create a PersonController class as follows:
package com.learnjava.controller;

import java.util.ArrayList;
import java.util.List;

import org.springframework.beans.factory.annotation.Autowired;
import org.springframework.http.ResponseEntity;
import org.springframework.web.bind.annotation.GetMapping;
import org.springframework.web.bind.annotation.PathVariable;
import org.springframework.web.bind.annotation.PostMapping;
import org.springframework.web.bind.annotation.RequestBody;
import org.springframework.web.bind.annotation.RequestMapping;
import org.springframework.web.bind.annotation.RestController;

import com.learnjava.model.Person;

@RestController
public class PersonController {


  @GetMapping("/person")
  public List<Person> getAllPersons(){
    //Returns hardcoded data, a real world application would return from the database
    List<Person> personList = new ArrayList<Person>();
    personList.add(new Person(1,"Mickey Mouse", 30));
    personList.add(new Person(2,"Donald Duck", 35));
    personList.add(new Person(3,"Peppa Pig", 15));
    return personList;
  }

  @GetMapping("/person/{personId}")
  public Person getPersonWithId(@PathVariable Integer personId){
    //Returns hardcoded data, a real world application would return from the database
    return new Person(3,"Peppa Pig", 15);
  }


  @PostMapping("/person/newperson")
  public void addPerson(@RequestBody Person person){
    //Just has a Sysout stmt, a real world application would save this record to the database
    System.out.println("Saving person information");

  }

}
PersonController class
This is a Controller class. It specifies the method which will handle the requests from the client. It has the following methods.
Methods
getAllPersons
This returns all Person objects. A real-world application would query a database and return the Person objects. This code simply returns a List of Person objects.
getPersonWithId
This returns a Person object corresponding to the id specified. A real-world application would query a database and return a Person objects corresponding to the id specified. This code simply returns a hard-coded Person object
addPerson
This saves the Person object passed in. A real-world application would save the Person object into the database. This code simply executes a Sysout statement.
Annotations
@RestController annotation
This is specified at the class level. This designates the class as a REST controller, i.e. a controller that handles REST requests. It internally includes the @ResponseBody annotation which converts the Java value returned by the method into JSON. This annotation was added since Spring 4.0. It is a convenience annotation that combines the @Controller and @ResponseBody annotations.
@GetMapping Annotation
This annotation specifies the URL that this method maps to and also specifies that it is an HTTP GET Request. It is a composite annotation that acts as a shortcut for @RequestMapping(method = RequestMethod.GET). This is specified for the getAllPersons and getPersonWithId methods.
@PostMapping Annotation
This annotation specifies the URL that this method maps to and also specifies that it is an HTTP POST Request. It is a composite annotation that acts as a shortcut for @RequestMapping(method = RequestMethod.POST). This is specified on the addPerson method
@RequestBody Annotation
This annotation needs to be specified when an object is passed to a method. It automatically deserializes the JSON object to a Java object.
Step 5 – Finally, create a Main.java as follows:
package com.learnjava;

import org.springframework.boot.SpringApplication;
import org.springframework.boot.autoconfigure.EnableAutoConfiguration;
import org.springframework.boot.autoconfigure.SpringBootApplication;
import org.springframework.web.bind.annotation.RequestMapping;
import org.springframework.web.bind.annotation.RestController;

@SpringBootApplication
public class Main {

    public static void main(String[] args) {
          SpringApplication.run(Main.class, args);
      }

}
Main
This is the starting point of the application.
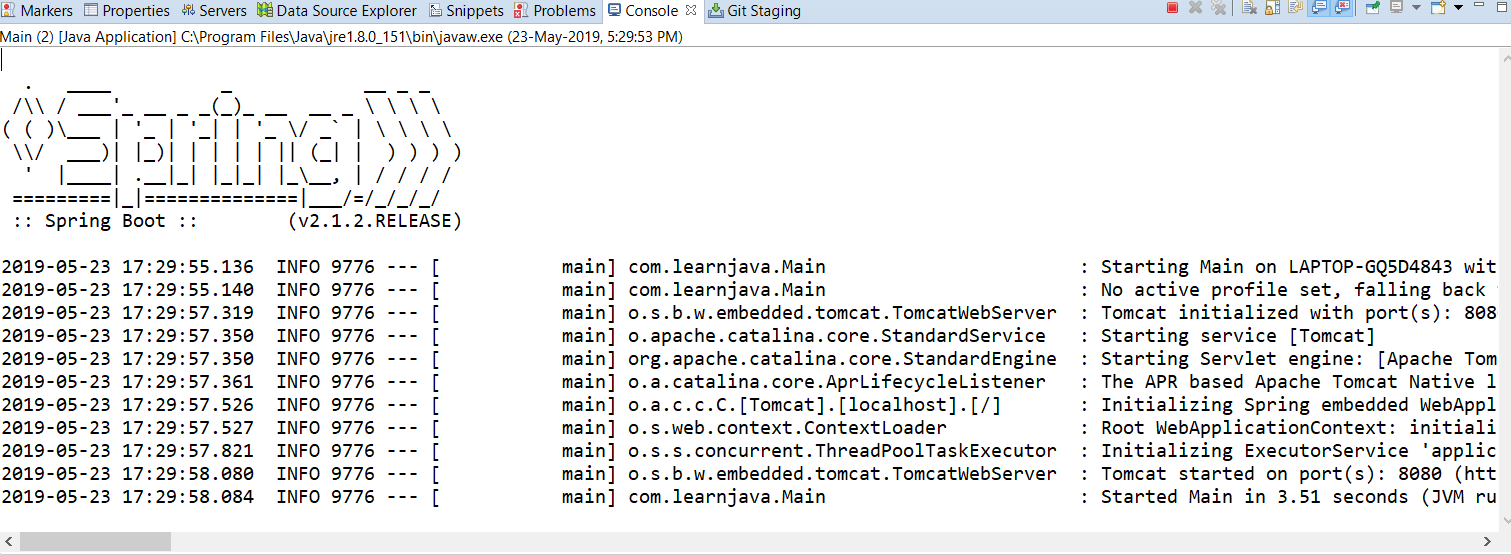
Running the Application
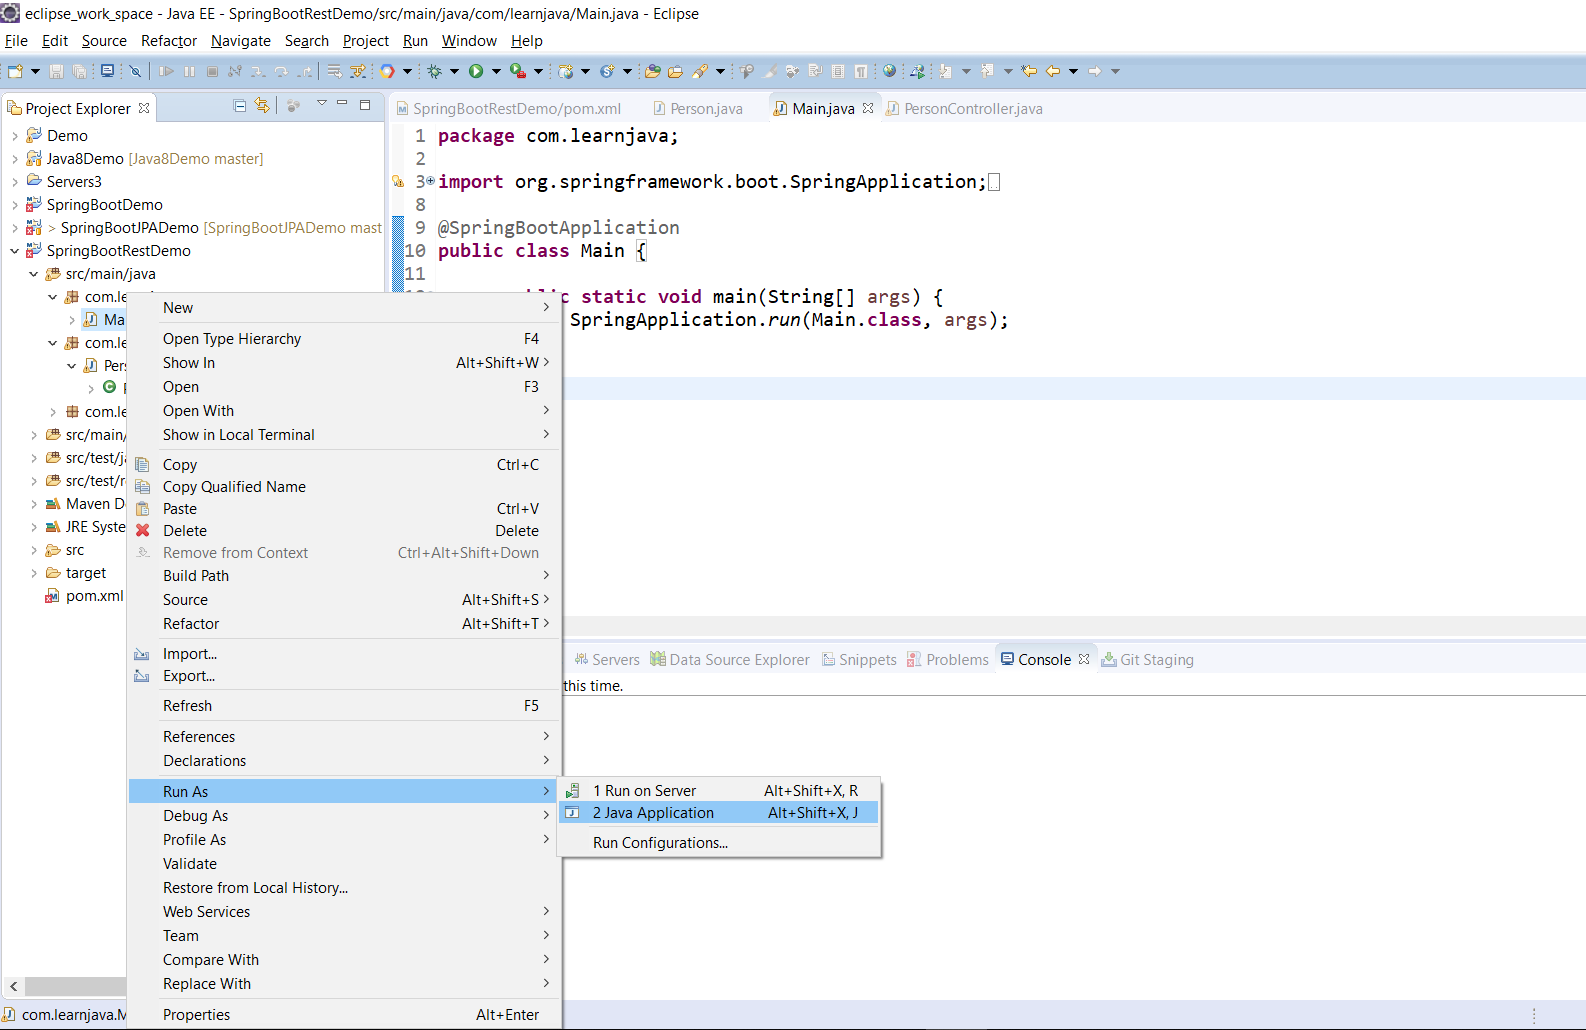
Step 6 – Run Main.java as a Java application as follows:
This will display the following on the console:
Testing Via Browser
Get All Persons
Open a browser window and type the following URL:
http://localhost:8080/person/
This will display the following:

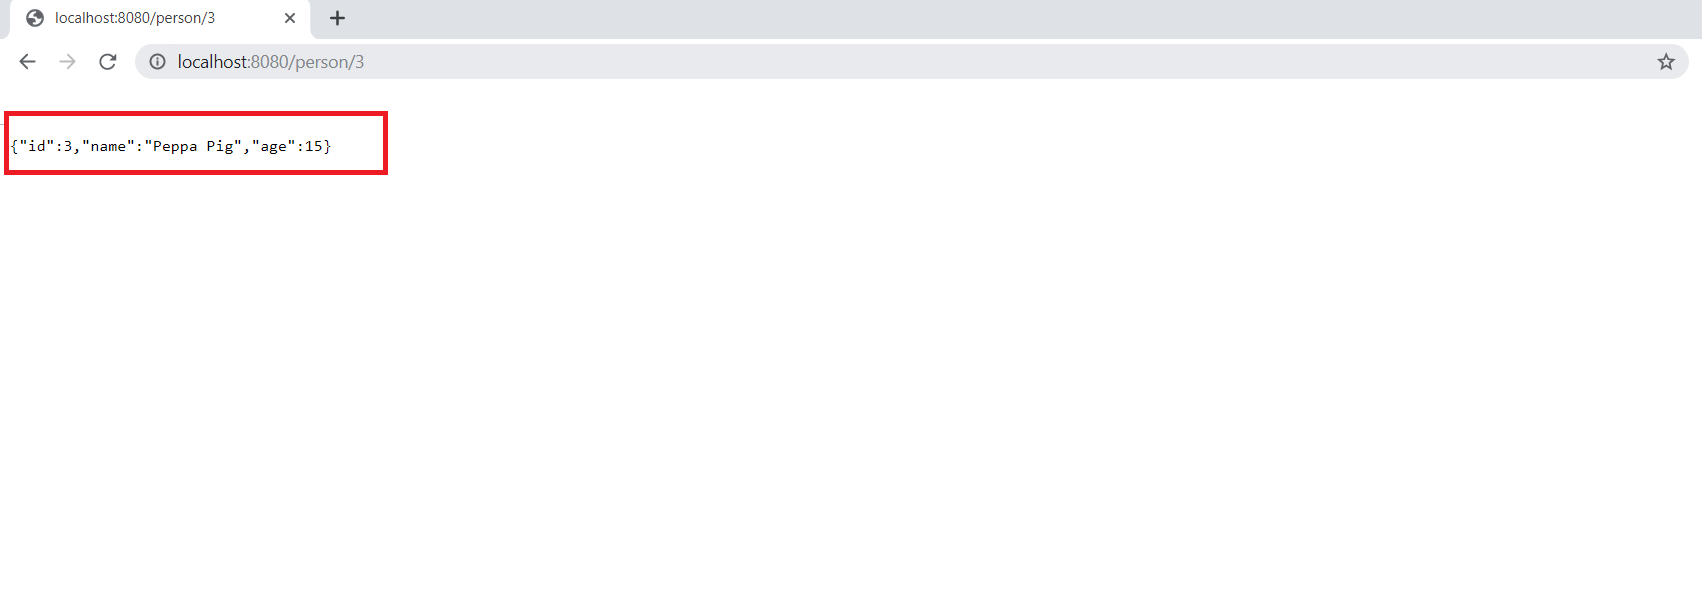
Get Person By Id
Open a browser window and type the following URL:
http://localhost:8080/person/3
This will display the following:
Add Person
This cannot be tested in a Browser as it is a POST request
Testing Via Postman
Postman is a client-side application that allows you to test REST services easily. You can download Postman from the Postman like here. Once download is complete, you can click the desktop shortcut to launch Postman.
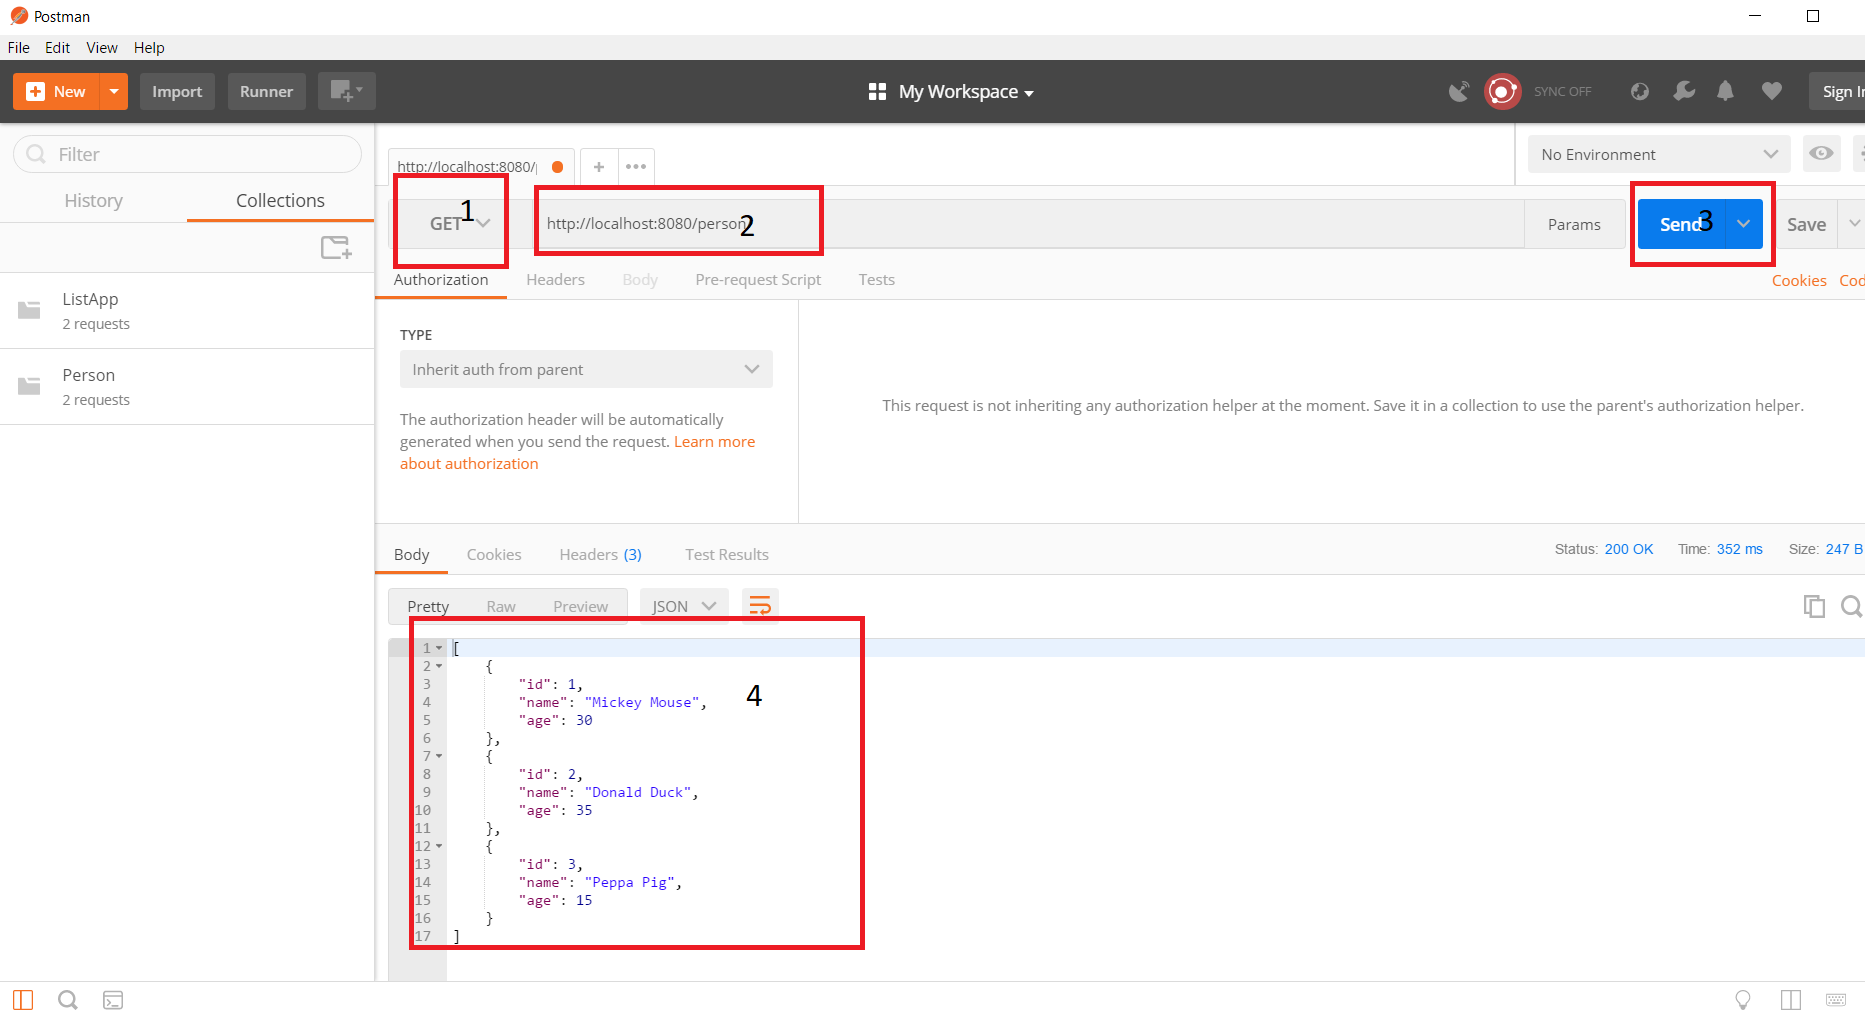
Get All Persons
- Select Request Type as “GET”
- Enter URL as “http://localhost:8080/person/”
- Click on “Send”.
- This will show the “JSON” response sent by the server in the body below as follows:
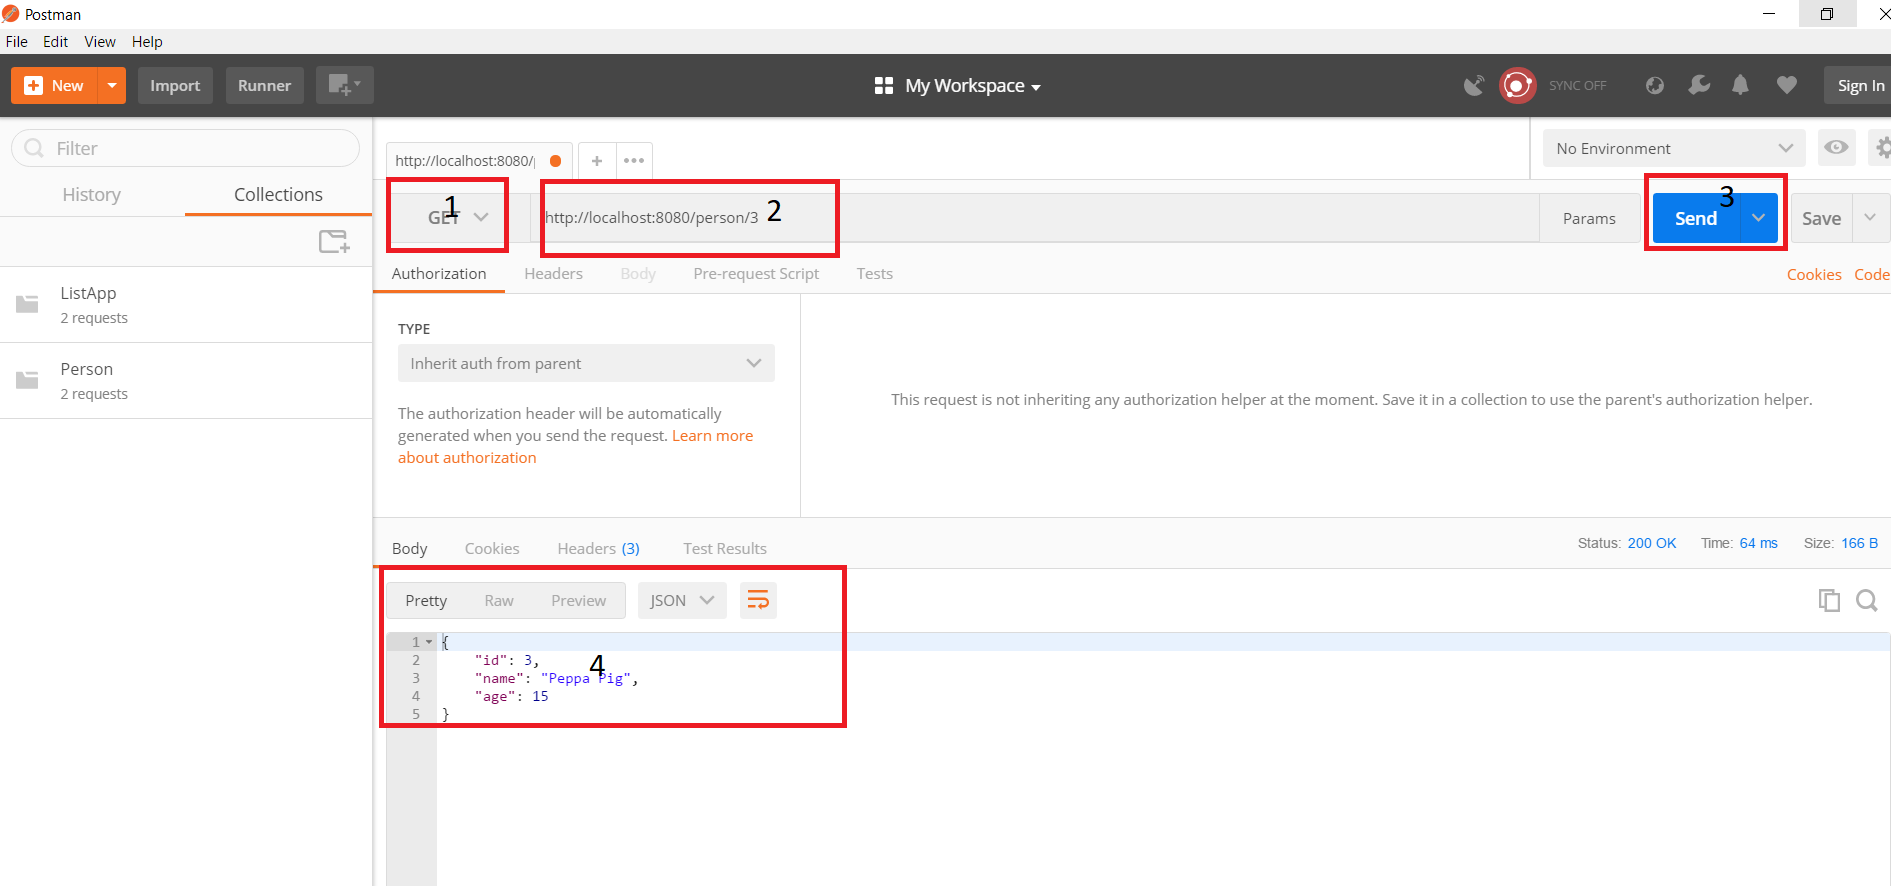
Get Person By Id
- Select Request Type as “GET”
- Enter URL as “http://localhost:8080/person/3”,
- Click on “Send”.
- This will show the “JSON” response sent by the server in the body below as follows:
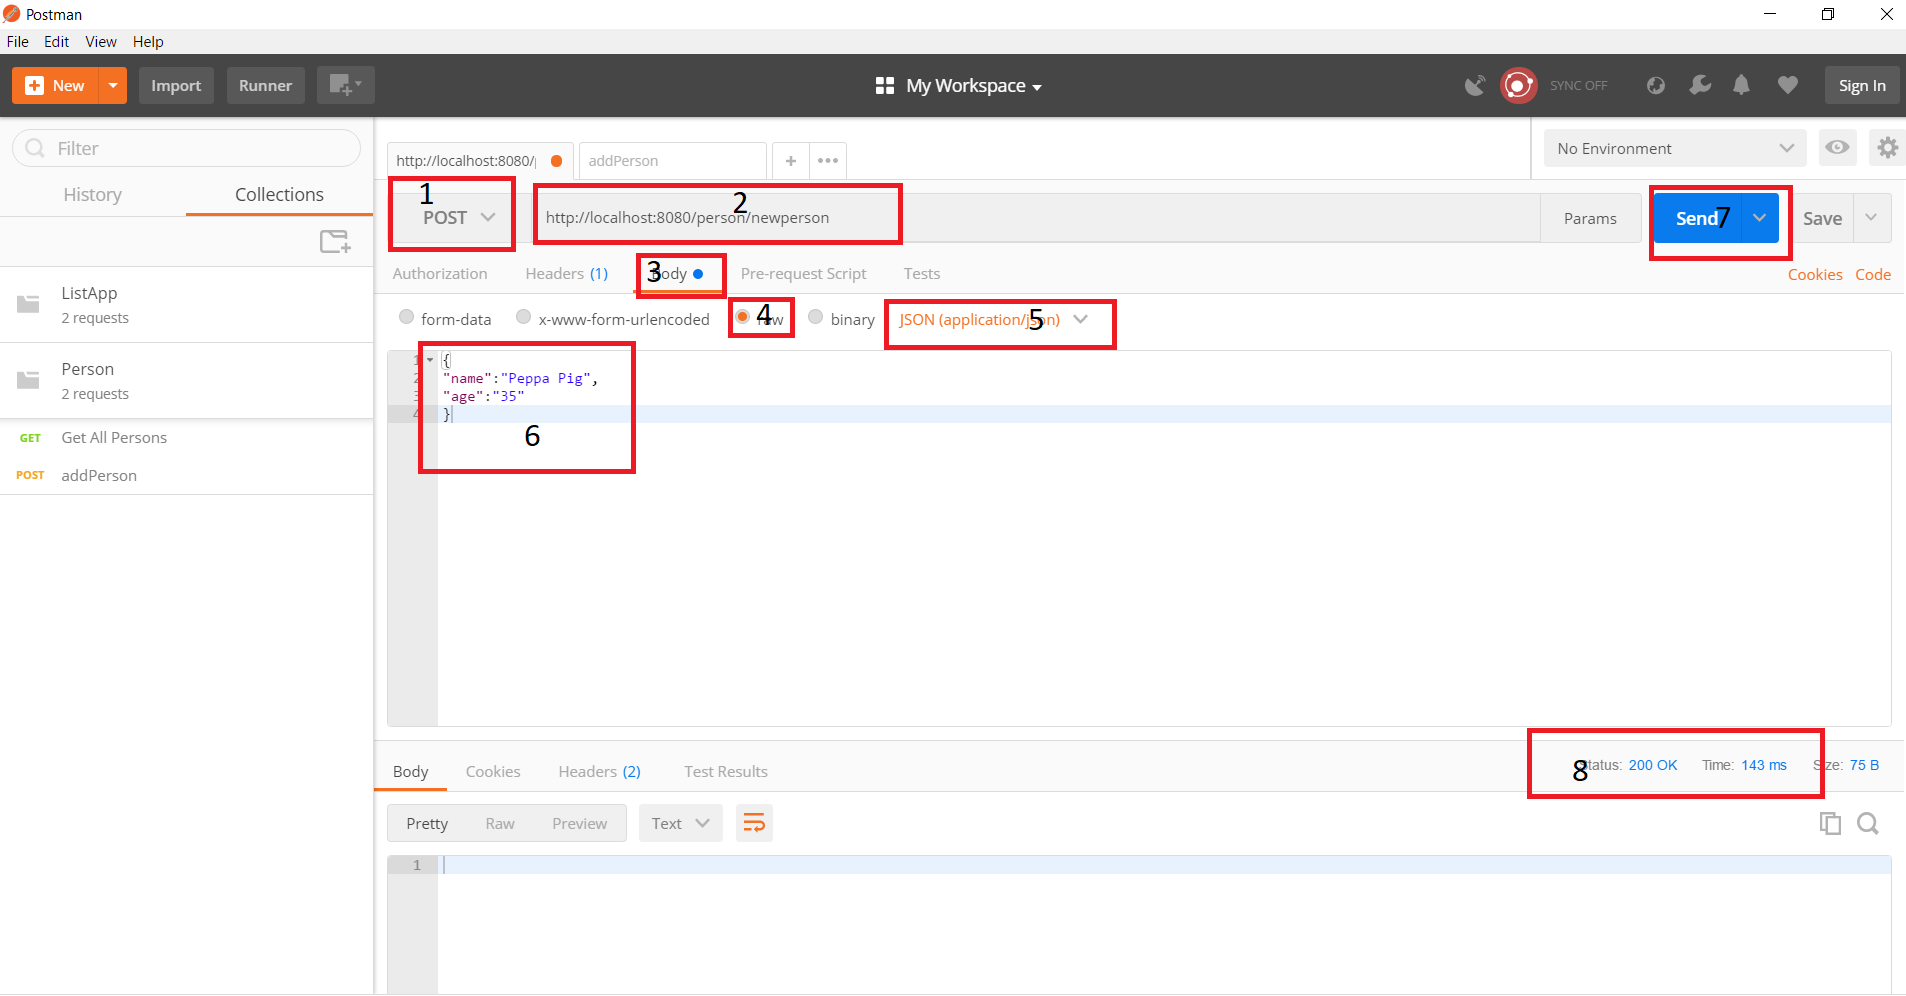
Add Person
- Select Request Type as “POST”
- Enter URL as “http://localhost:8080/person/newPerson”.
- Click Body
- Select “Raw”
- Type as “JSON(Application/JSON”),
- Enter the data to be saved in JSON format as shown below.
- Click on “Send”.
- This will show the HTTP Status 200 sent by the server.
You can download the source code for this project via the Github repository here.